
From the tree to your plate...
A lot of work goes into the amber colored goodness that you pour over your pancakes and waffles!
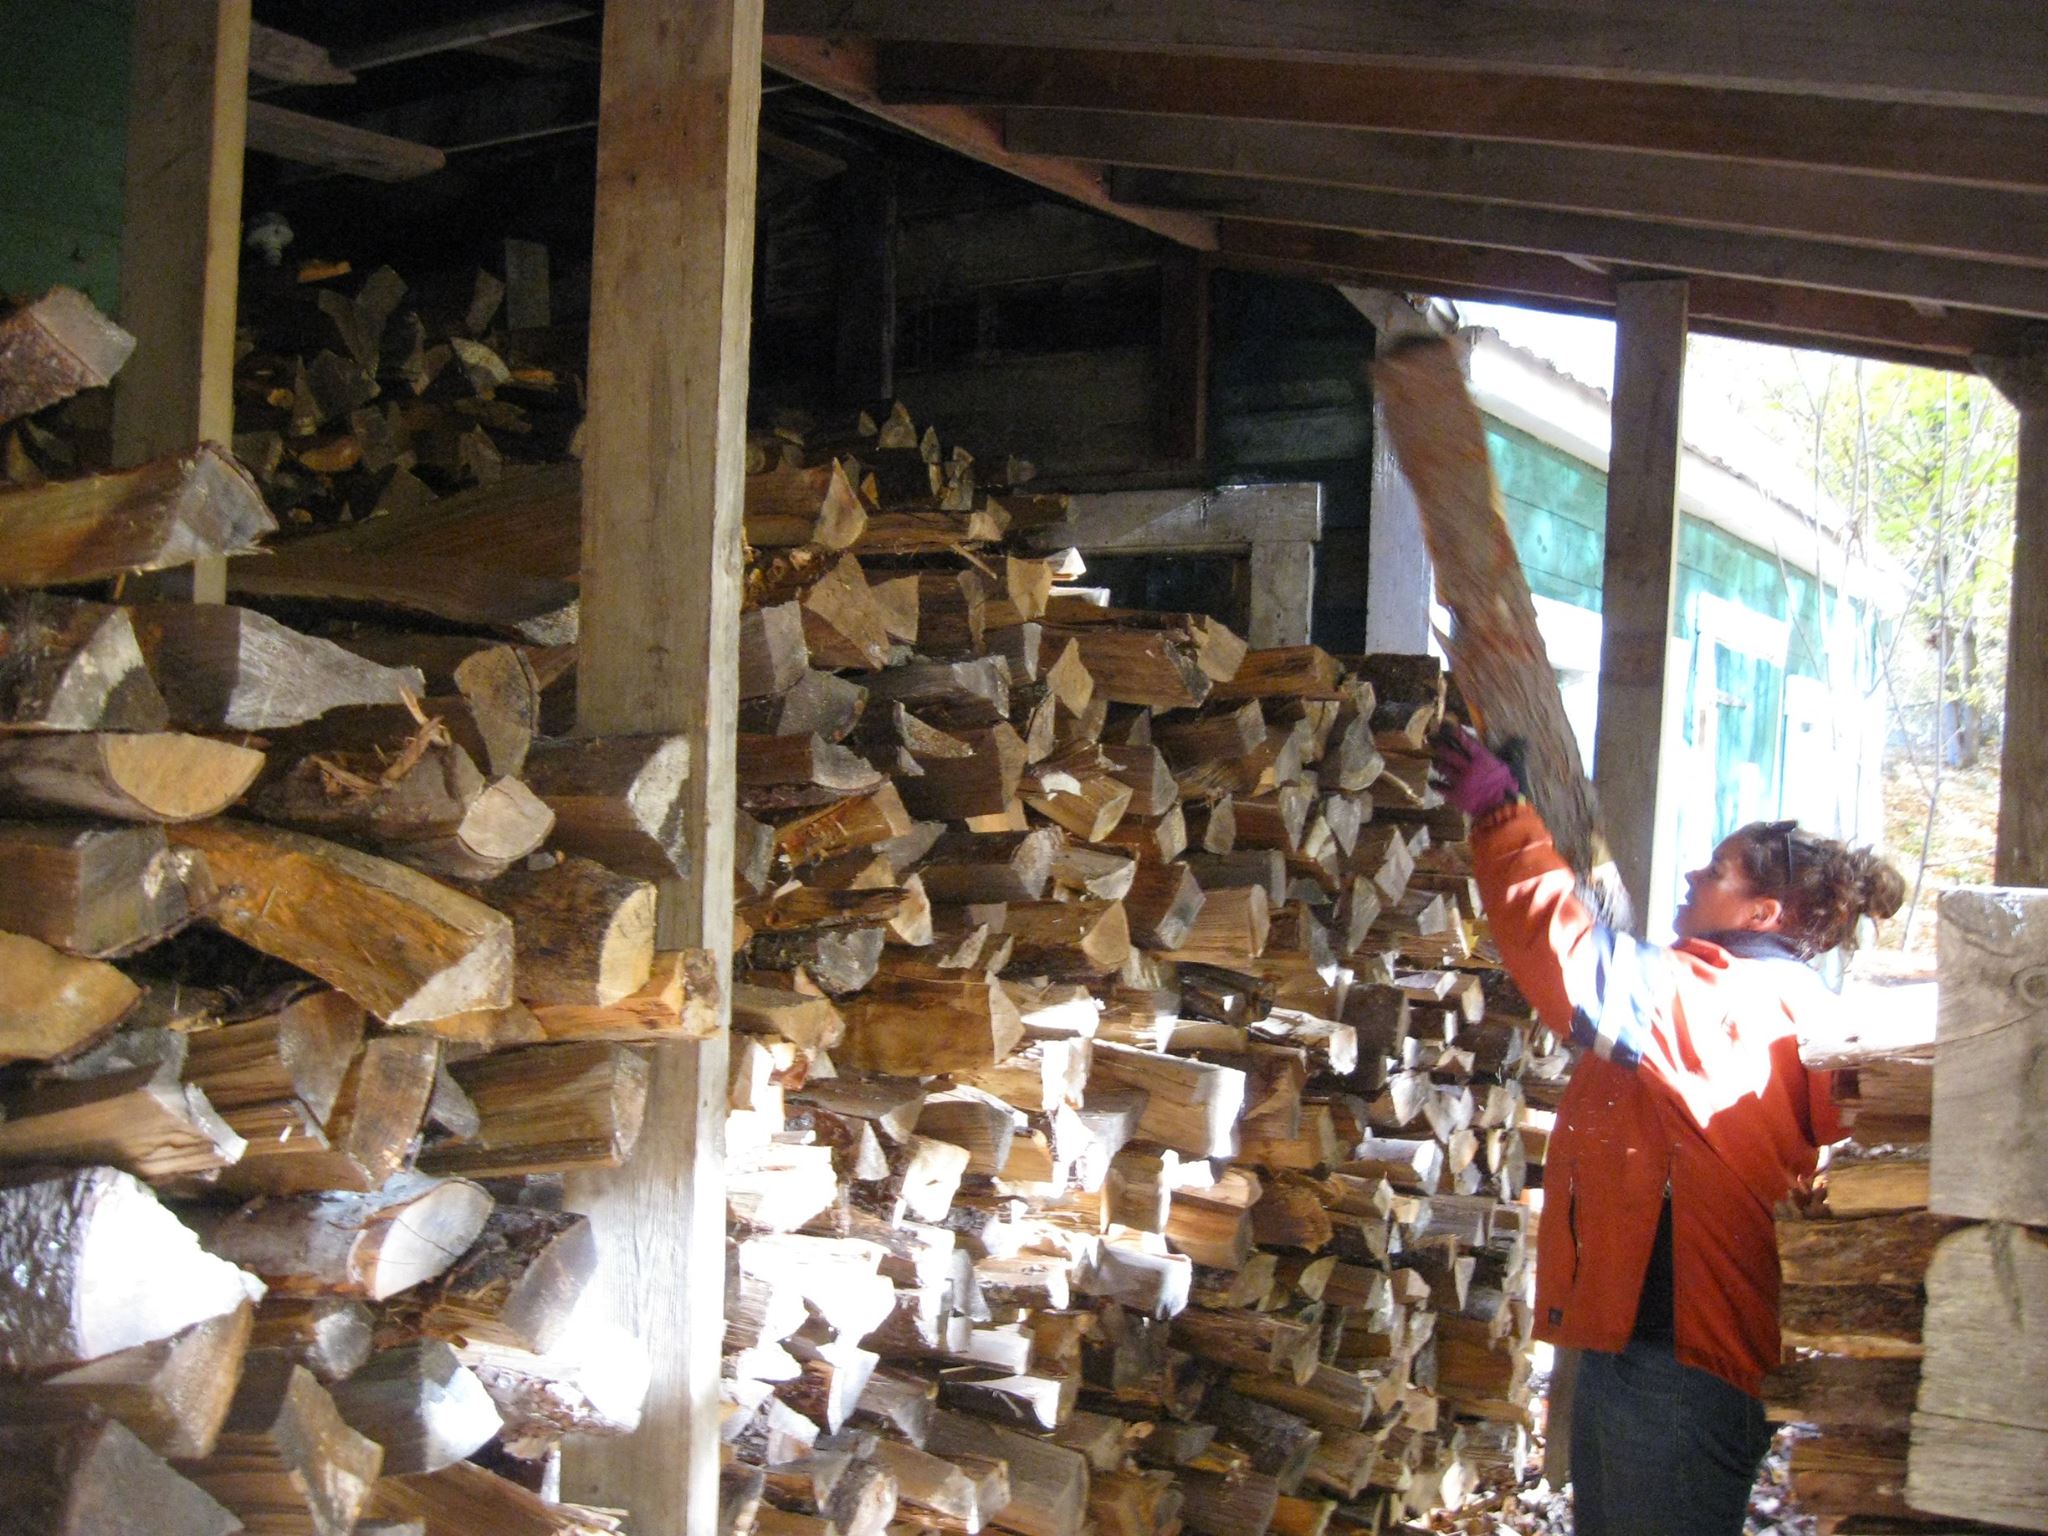
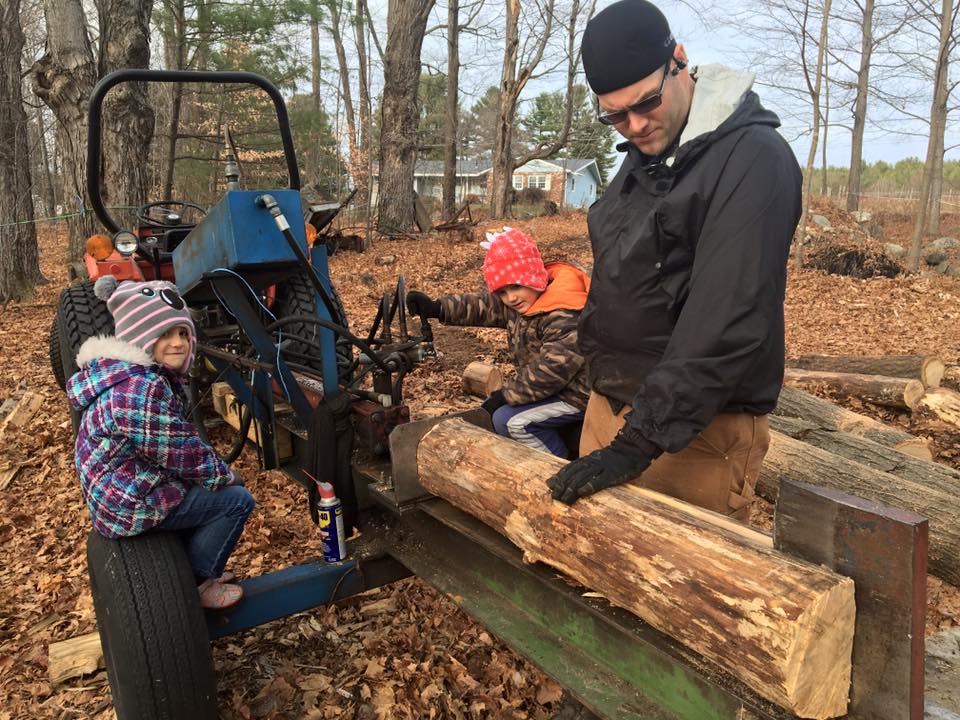
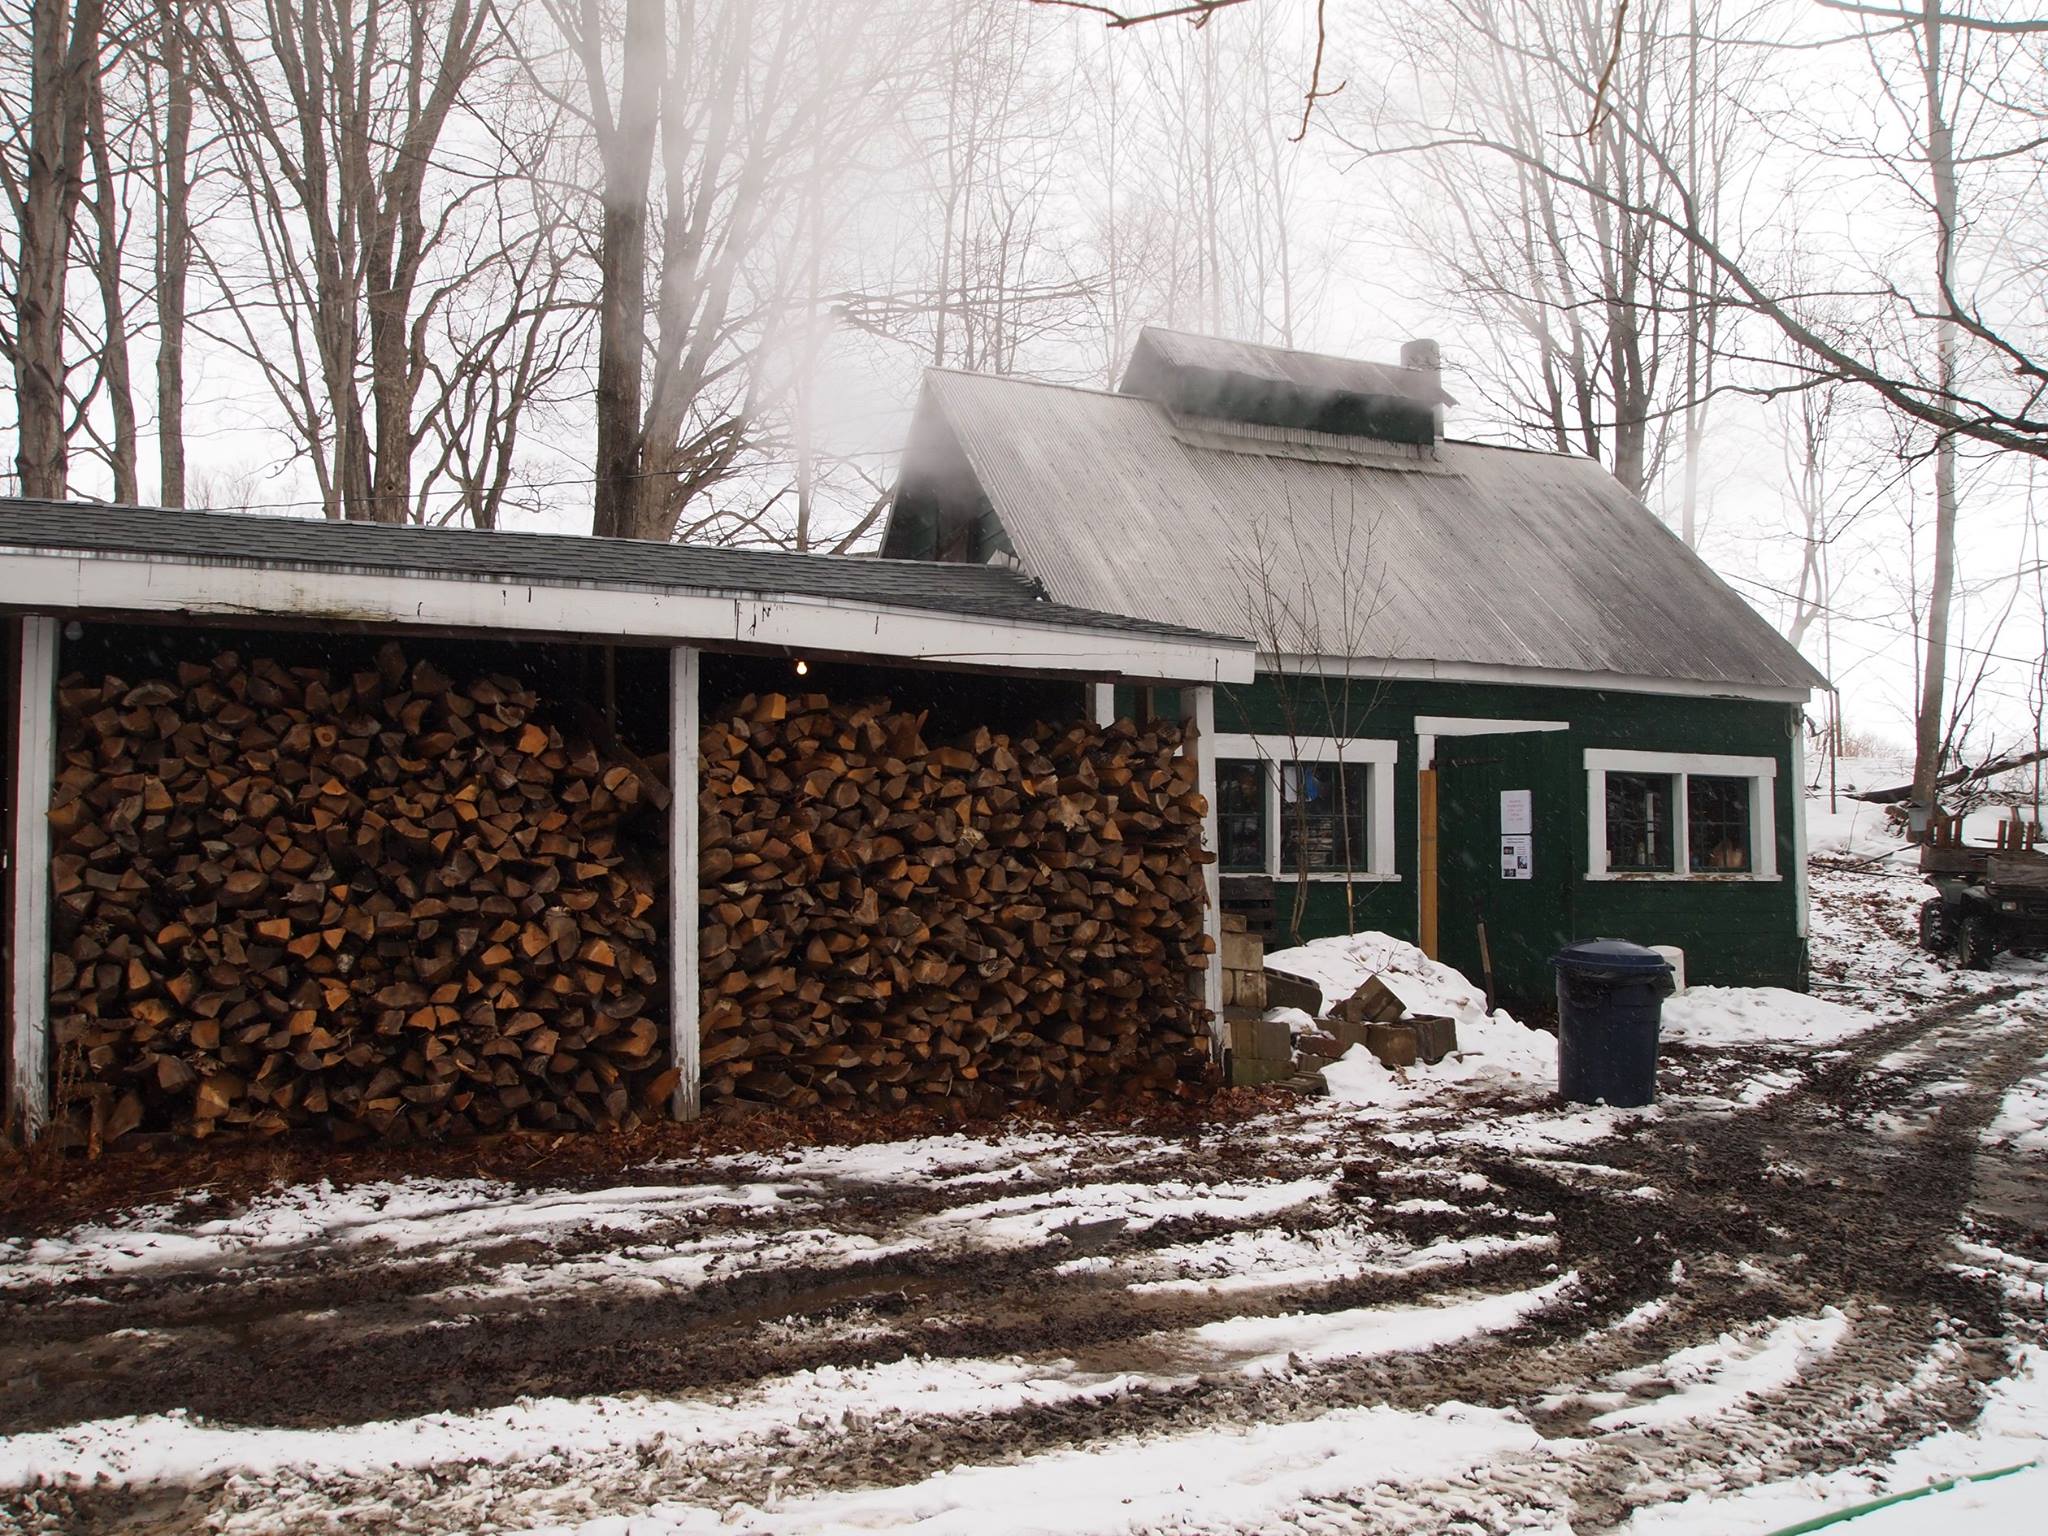
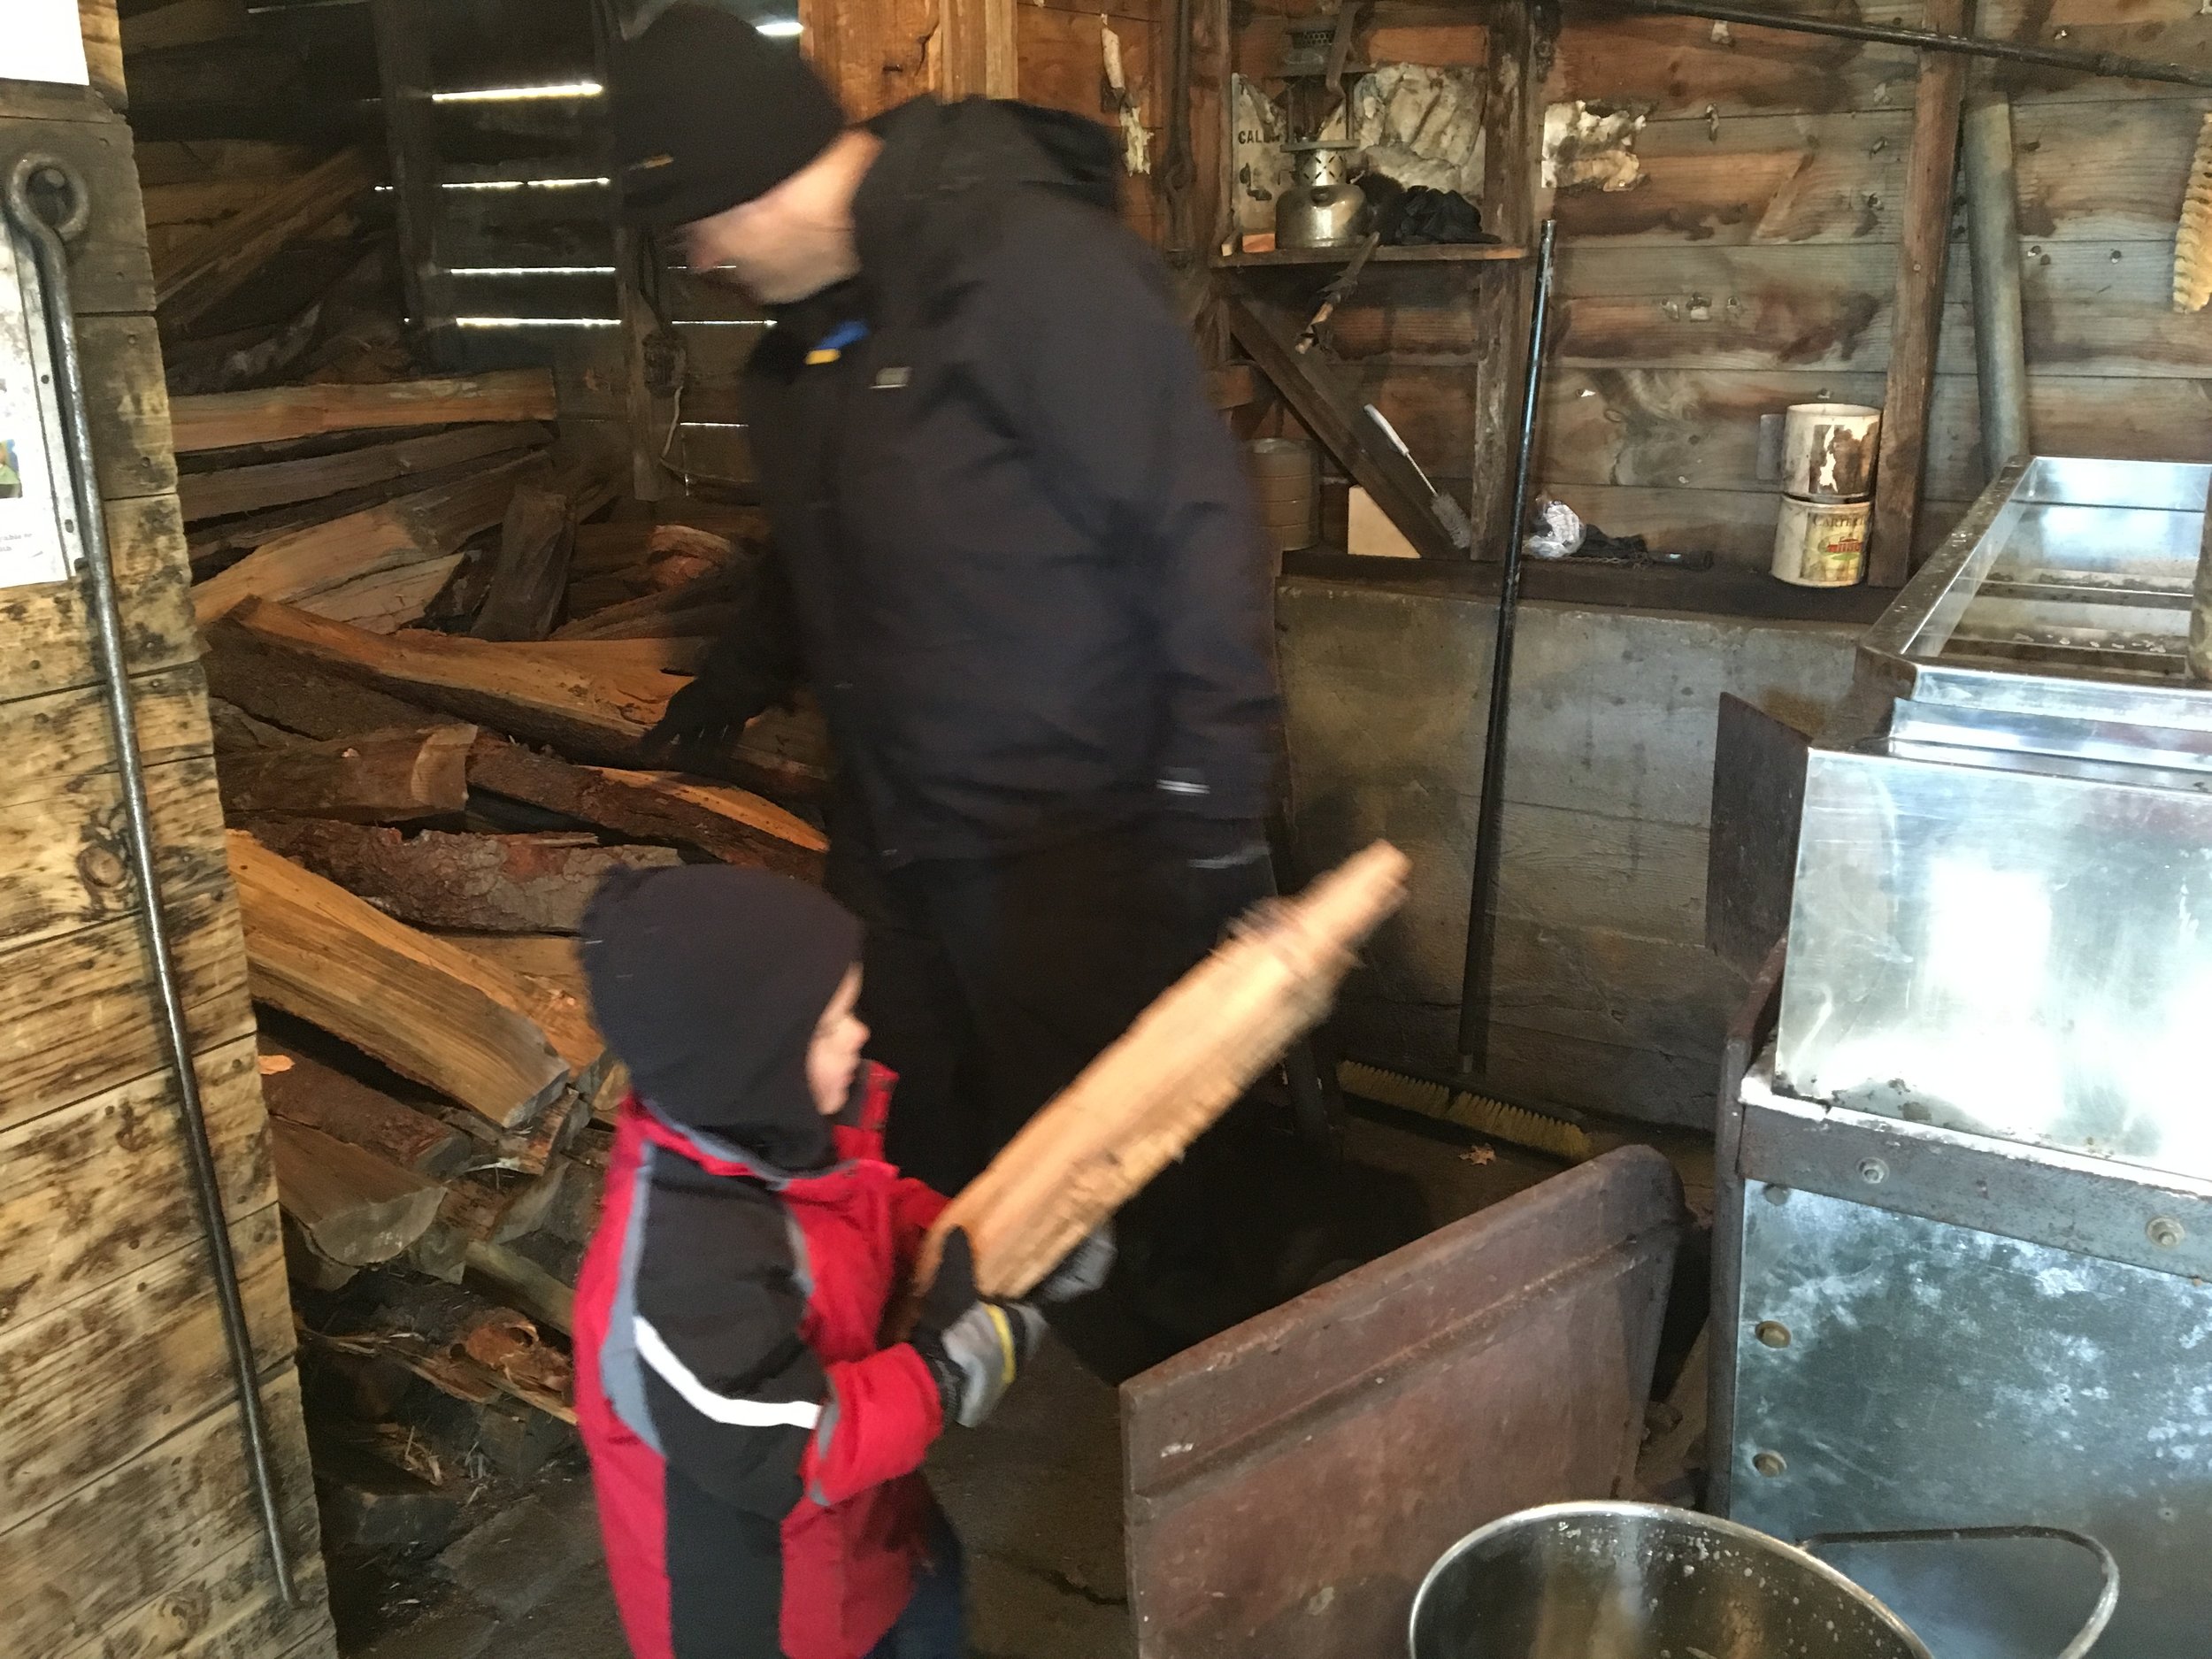
Wood
Let's back up a year. Since our evaporator is wood fired, we are constantly splitting wood for the next season. In a typical maple season, we use about 15 cords of wood.
Lines
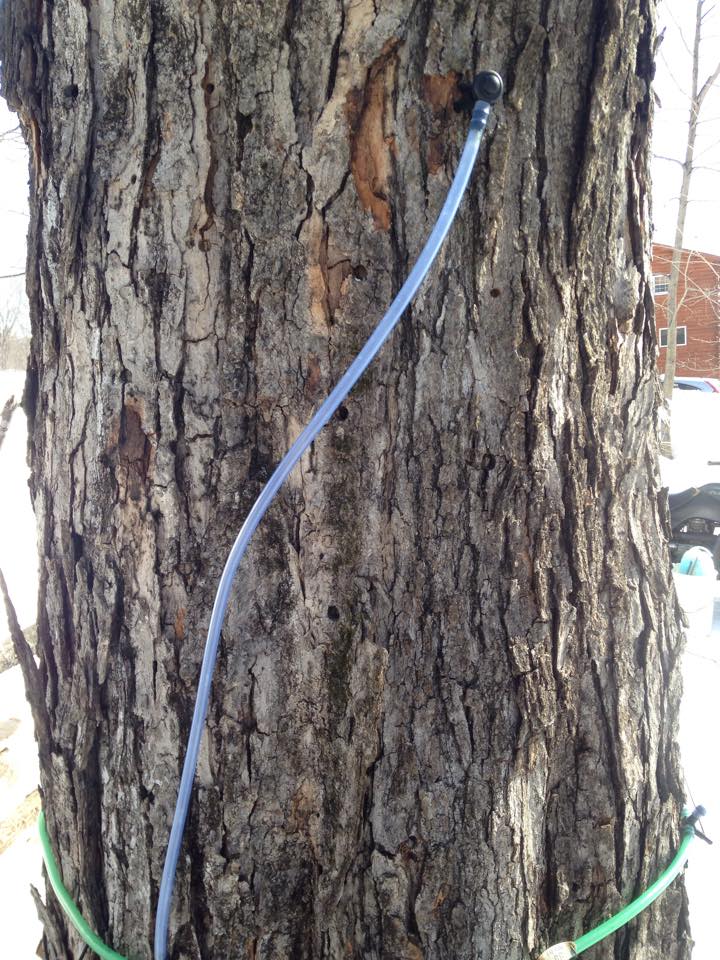
Nearly all of our trees are connected by flexible plastic tubing that carry the sap from the tree, then to larger diameter main lines, which feed into collection tanks. These lines are left in place year-round and require periodic maintenance and/or replacement. During the season, they require frequent visual checks to look for leaks. We want the sap in our tanks, not pouring all over the orchard! Connecting these tubes requires specialized tools.


Tapping
When to tap or not to tap? That is the question. In the old days, we used to wait until we saw a stretch of weather that looked "sappy". Current thinking is that tree holes do not heal as fast as we once thought they did. So, today's plan is to be totally tapped out by the second or third week of February. Some years this has us tapping with bare ground, other years we've been forced to trudge through the orchard wearing snowshoes in 3' of snow.
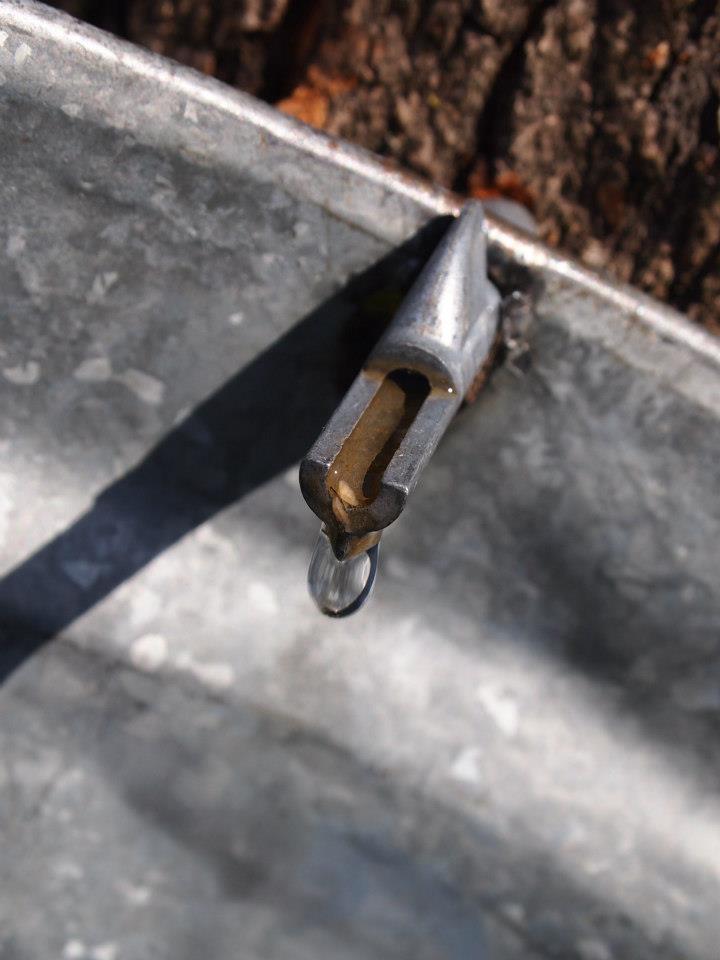
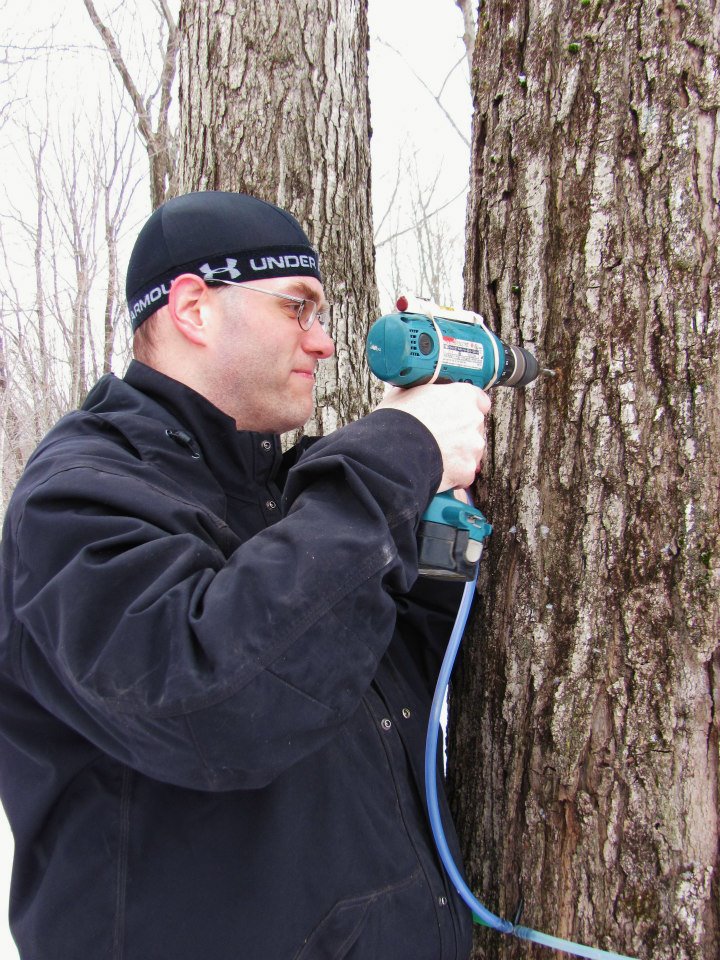
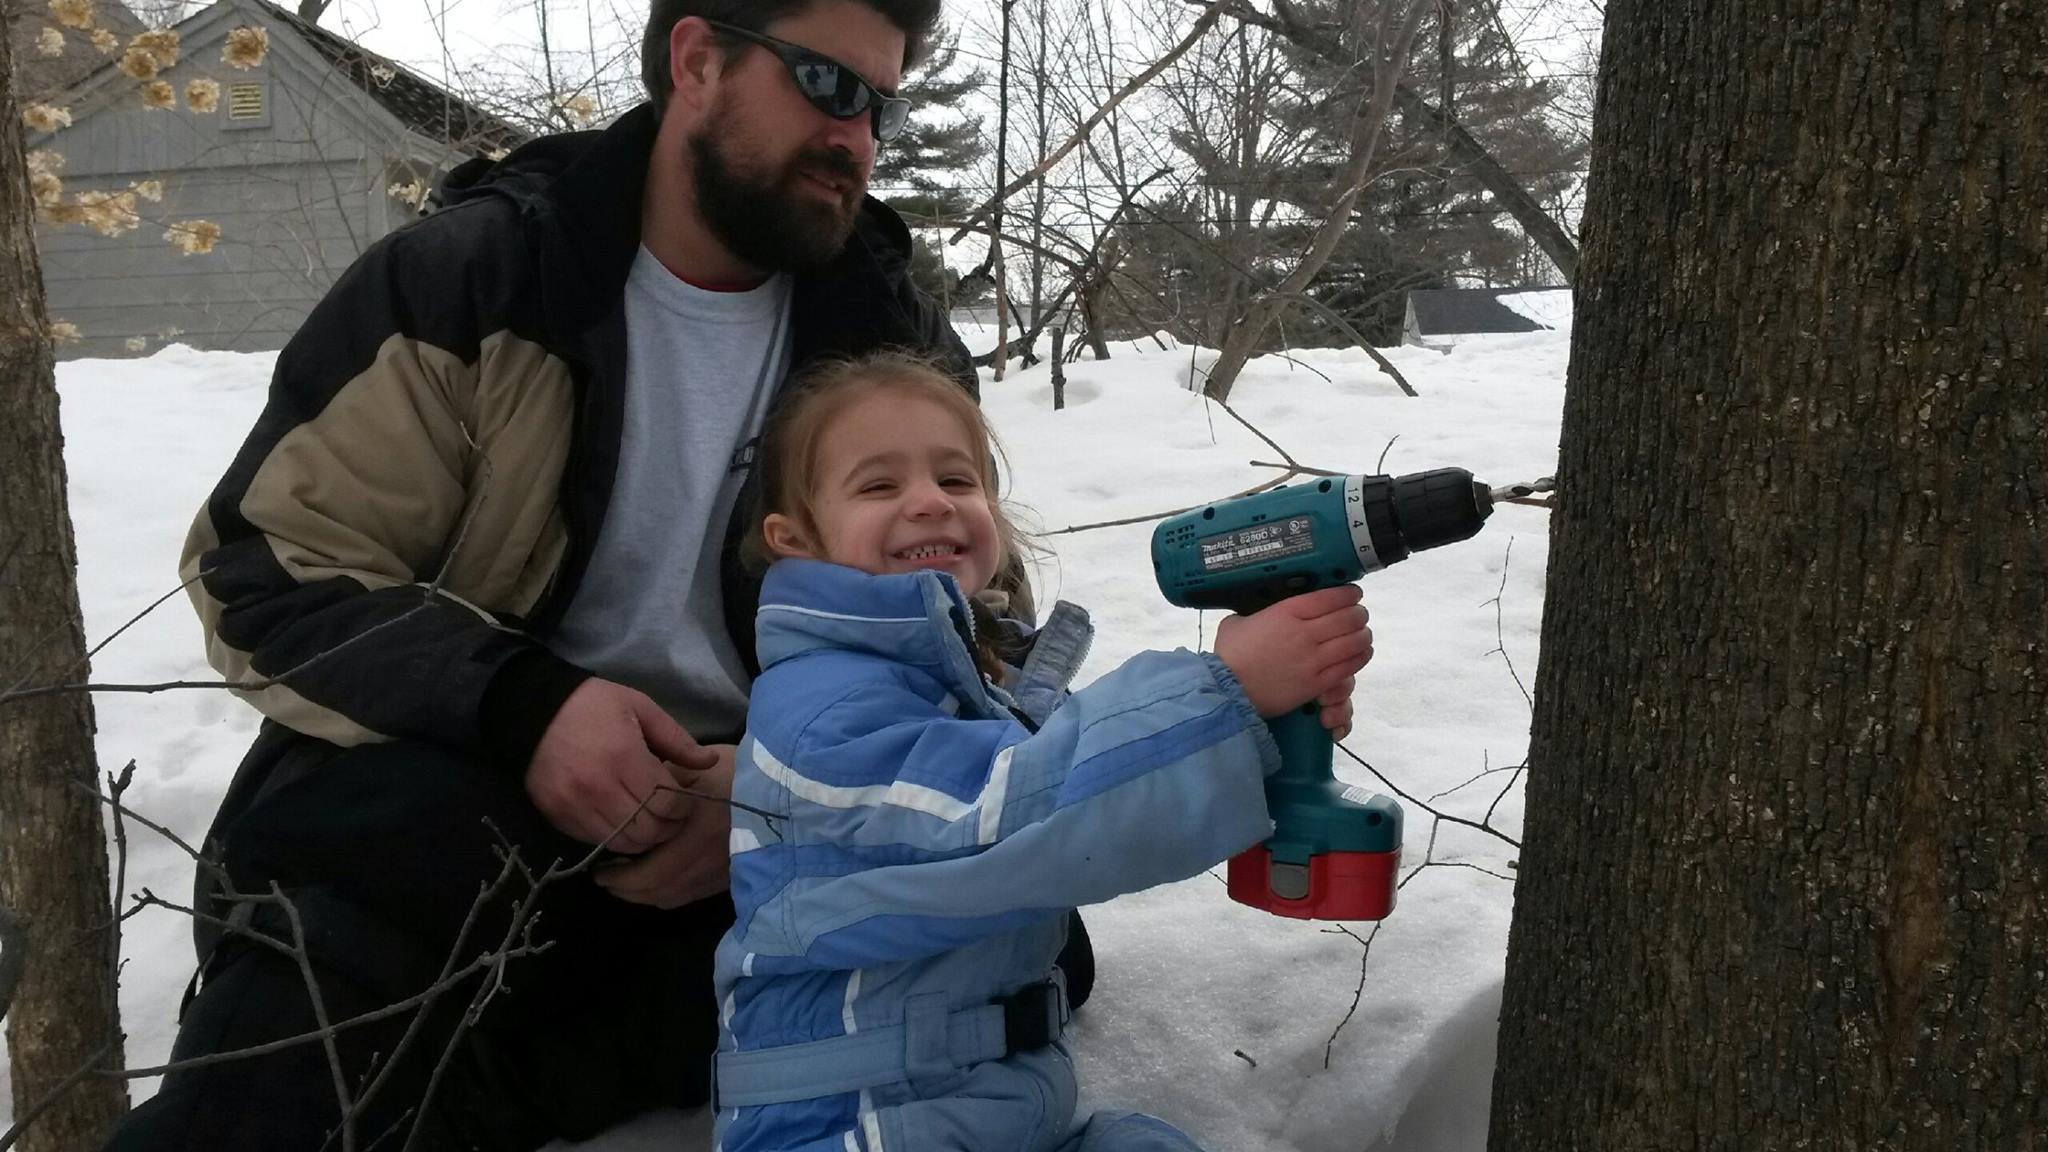
Tapping involves drilling a small hole in the tree, inserting a tap and connecting the tubing or hanging a bucket on it.
"Sappy days"
When will the sap run? This is where we start watching the weather reports religiously. Ideal sap weather requires nightly temperatures of 25 degrees at night and 45 during the day. This allows pressure changes inside the tree to force sap up and out.

Vacuum System
2017 brought the addition of a vacuum system to the sapping process. Applying suction at the tap hole tricks the tree into running when it otherwise would not, thus allowing for greater production. Currently, our entire orchard is running on vacuum. No more lugging full buckets of sap around!
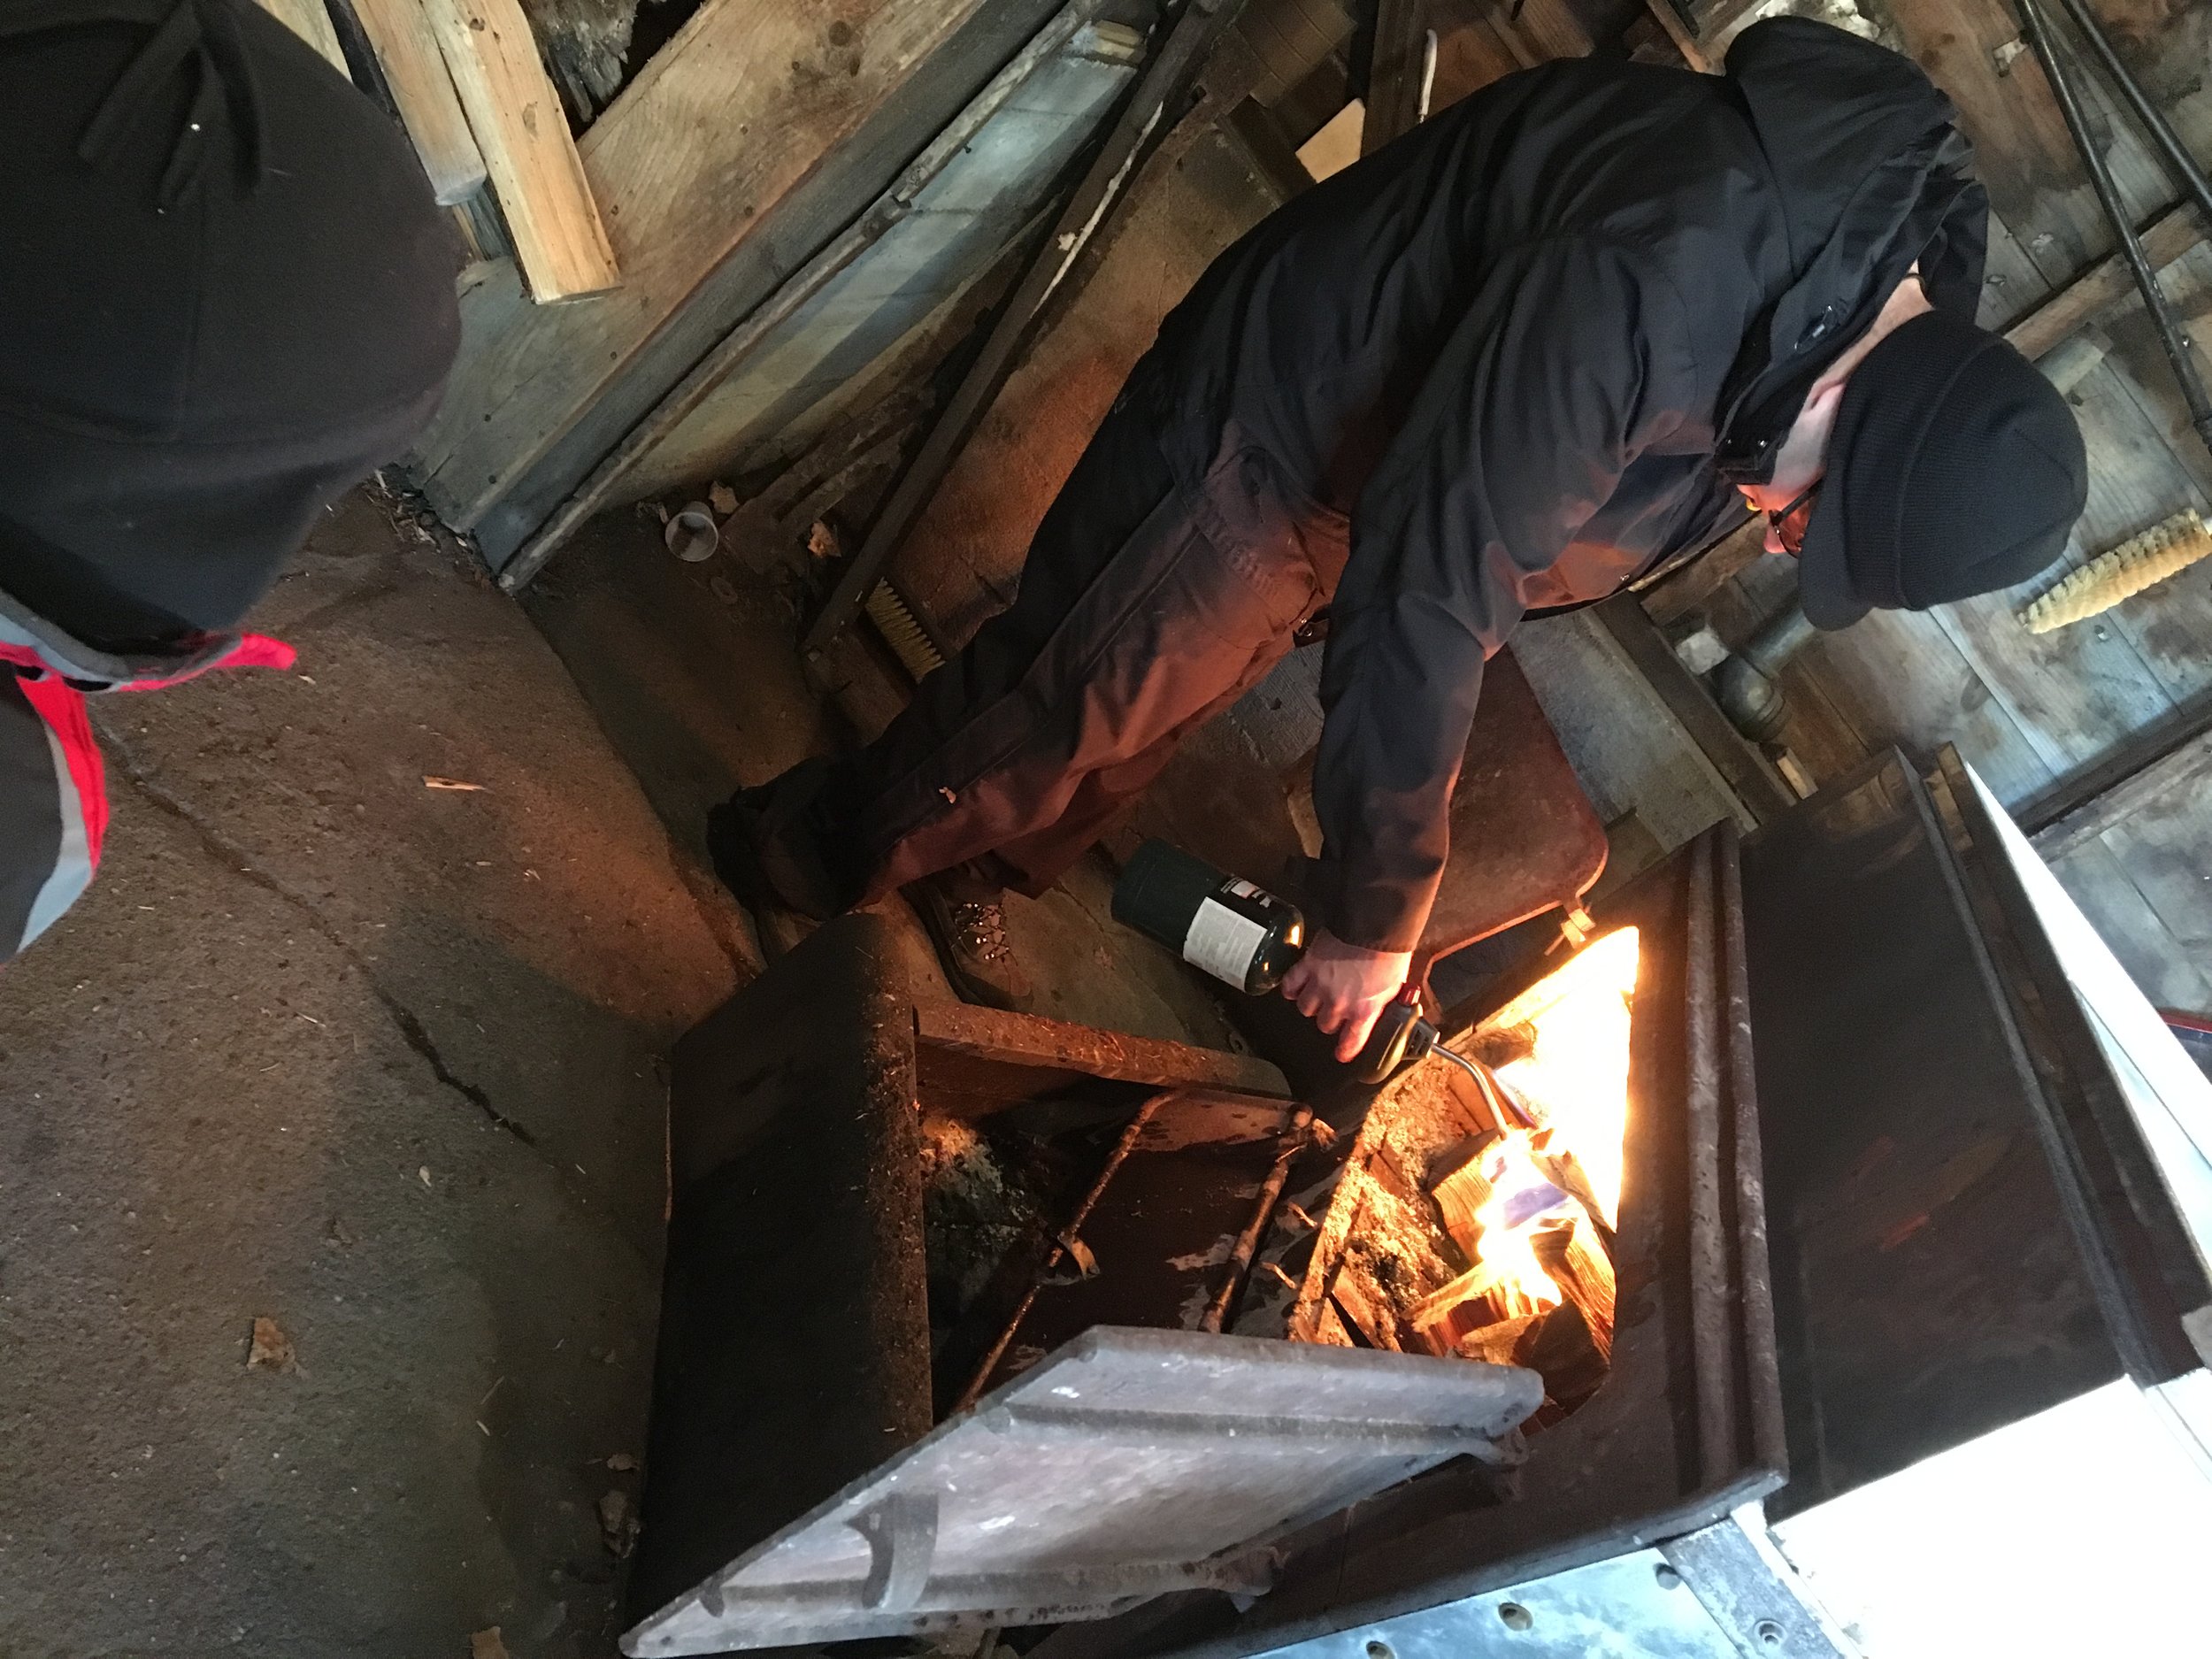
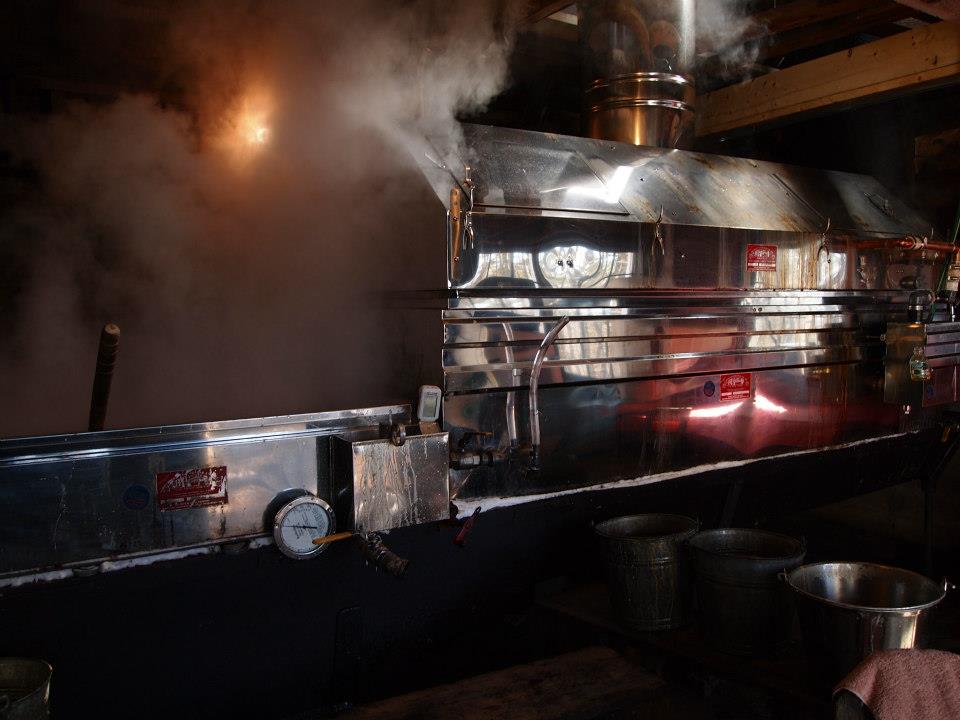
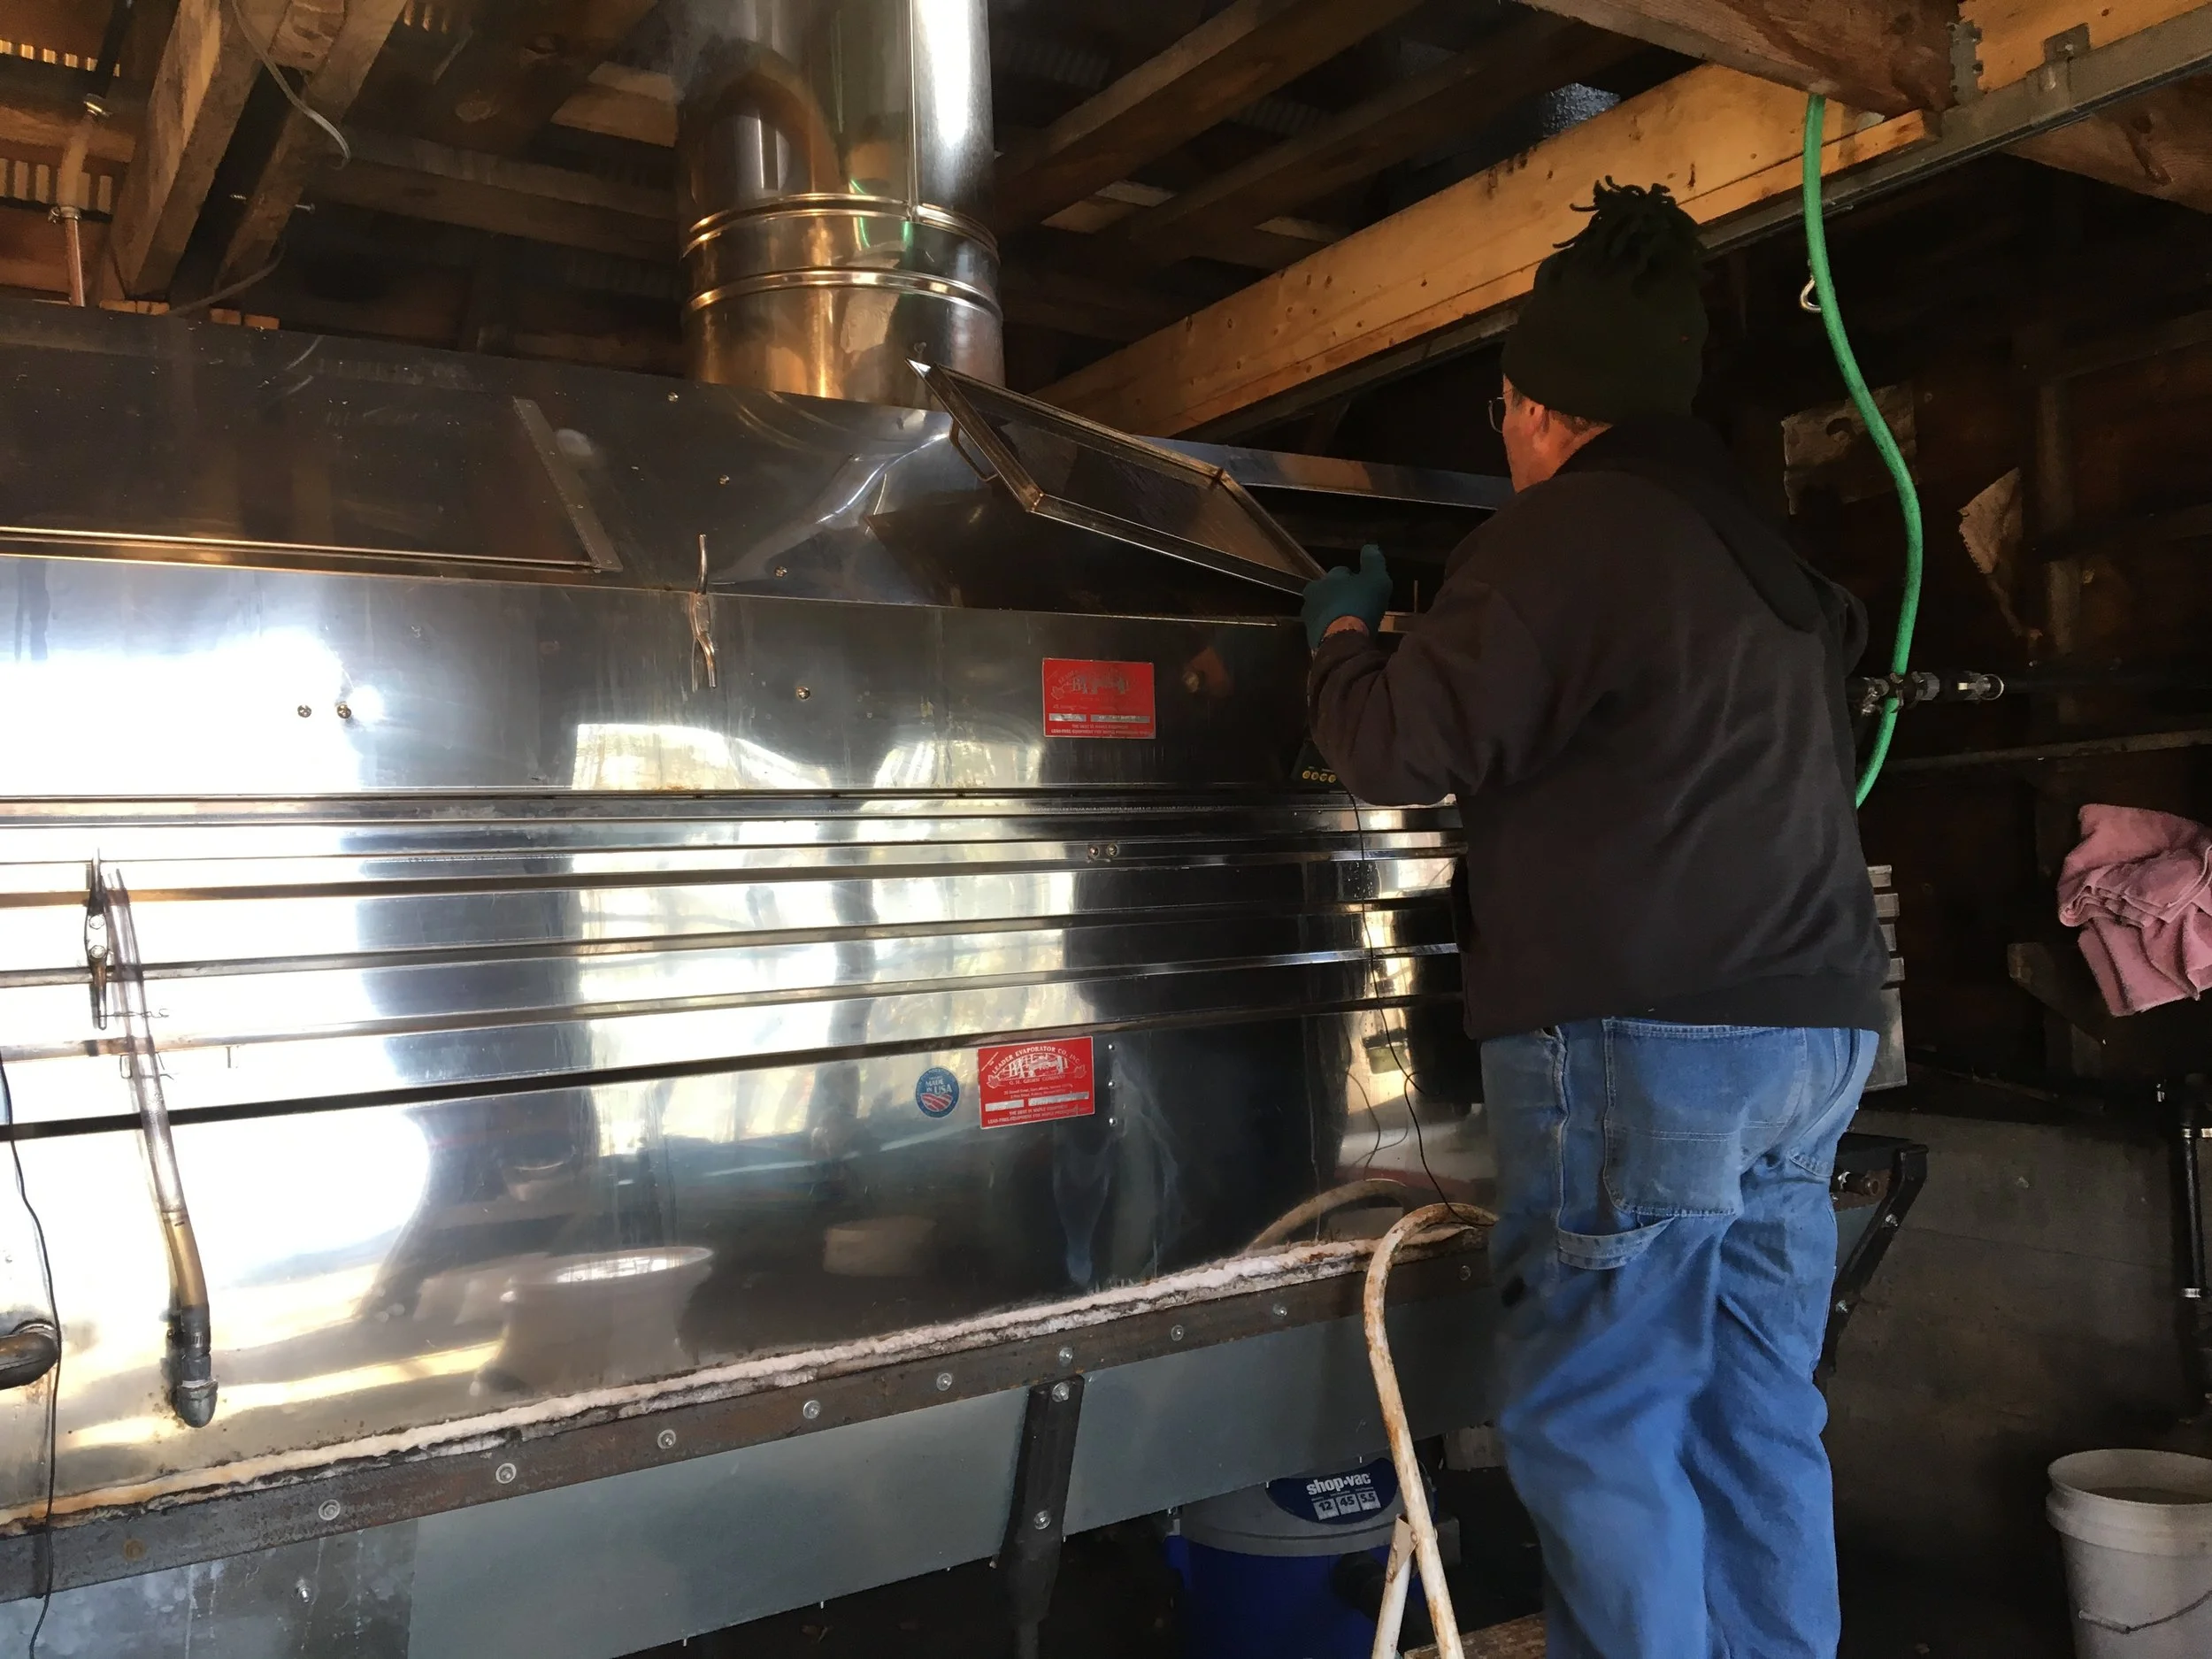
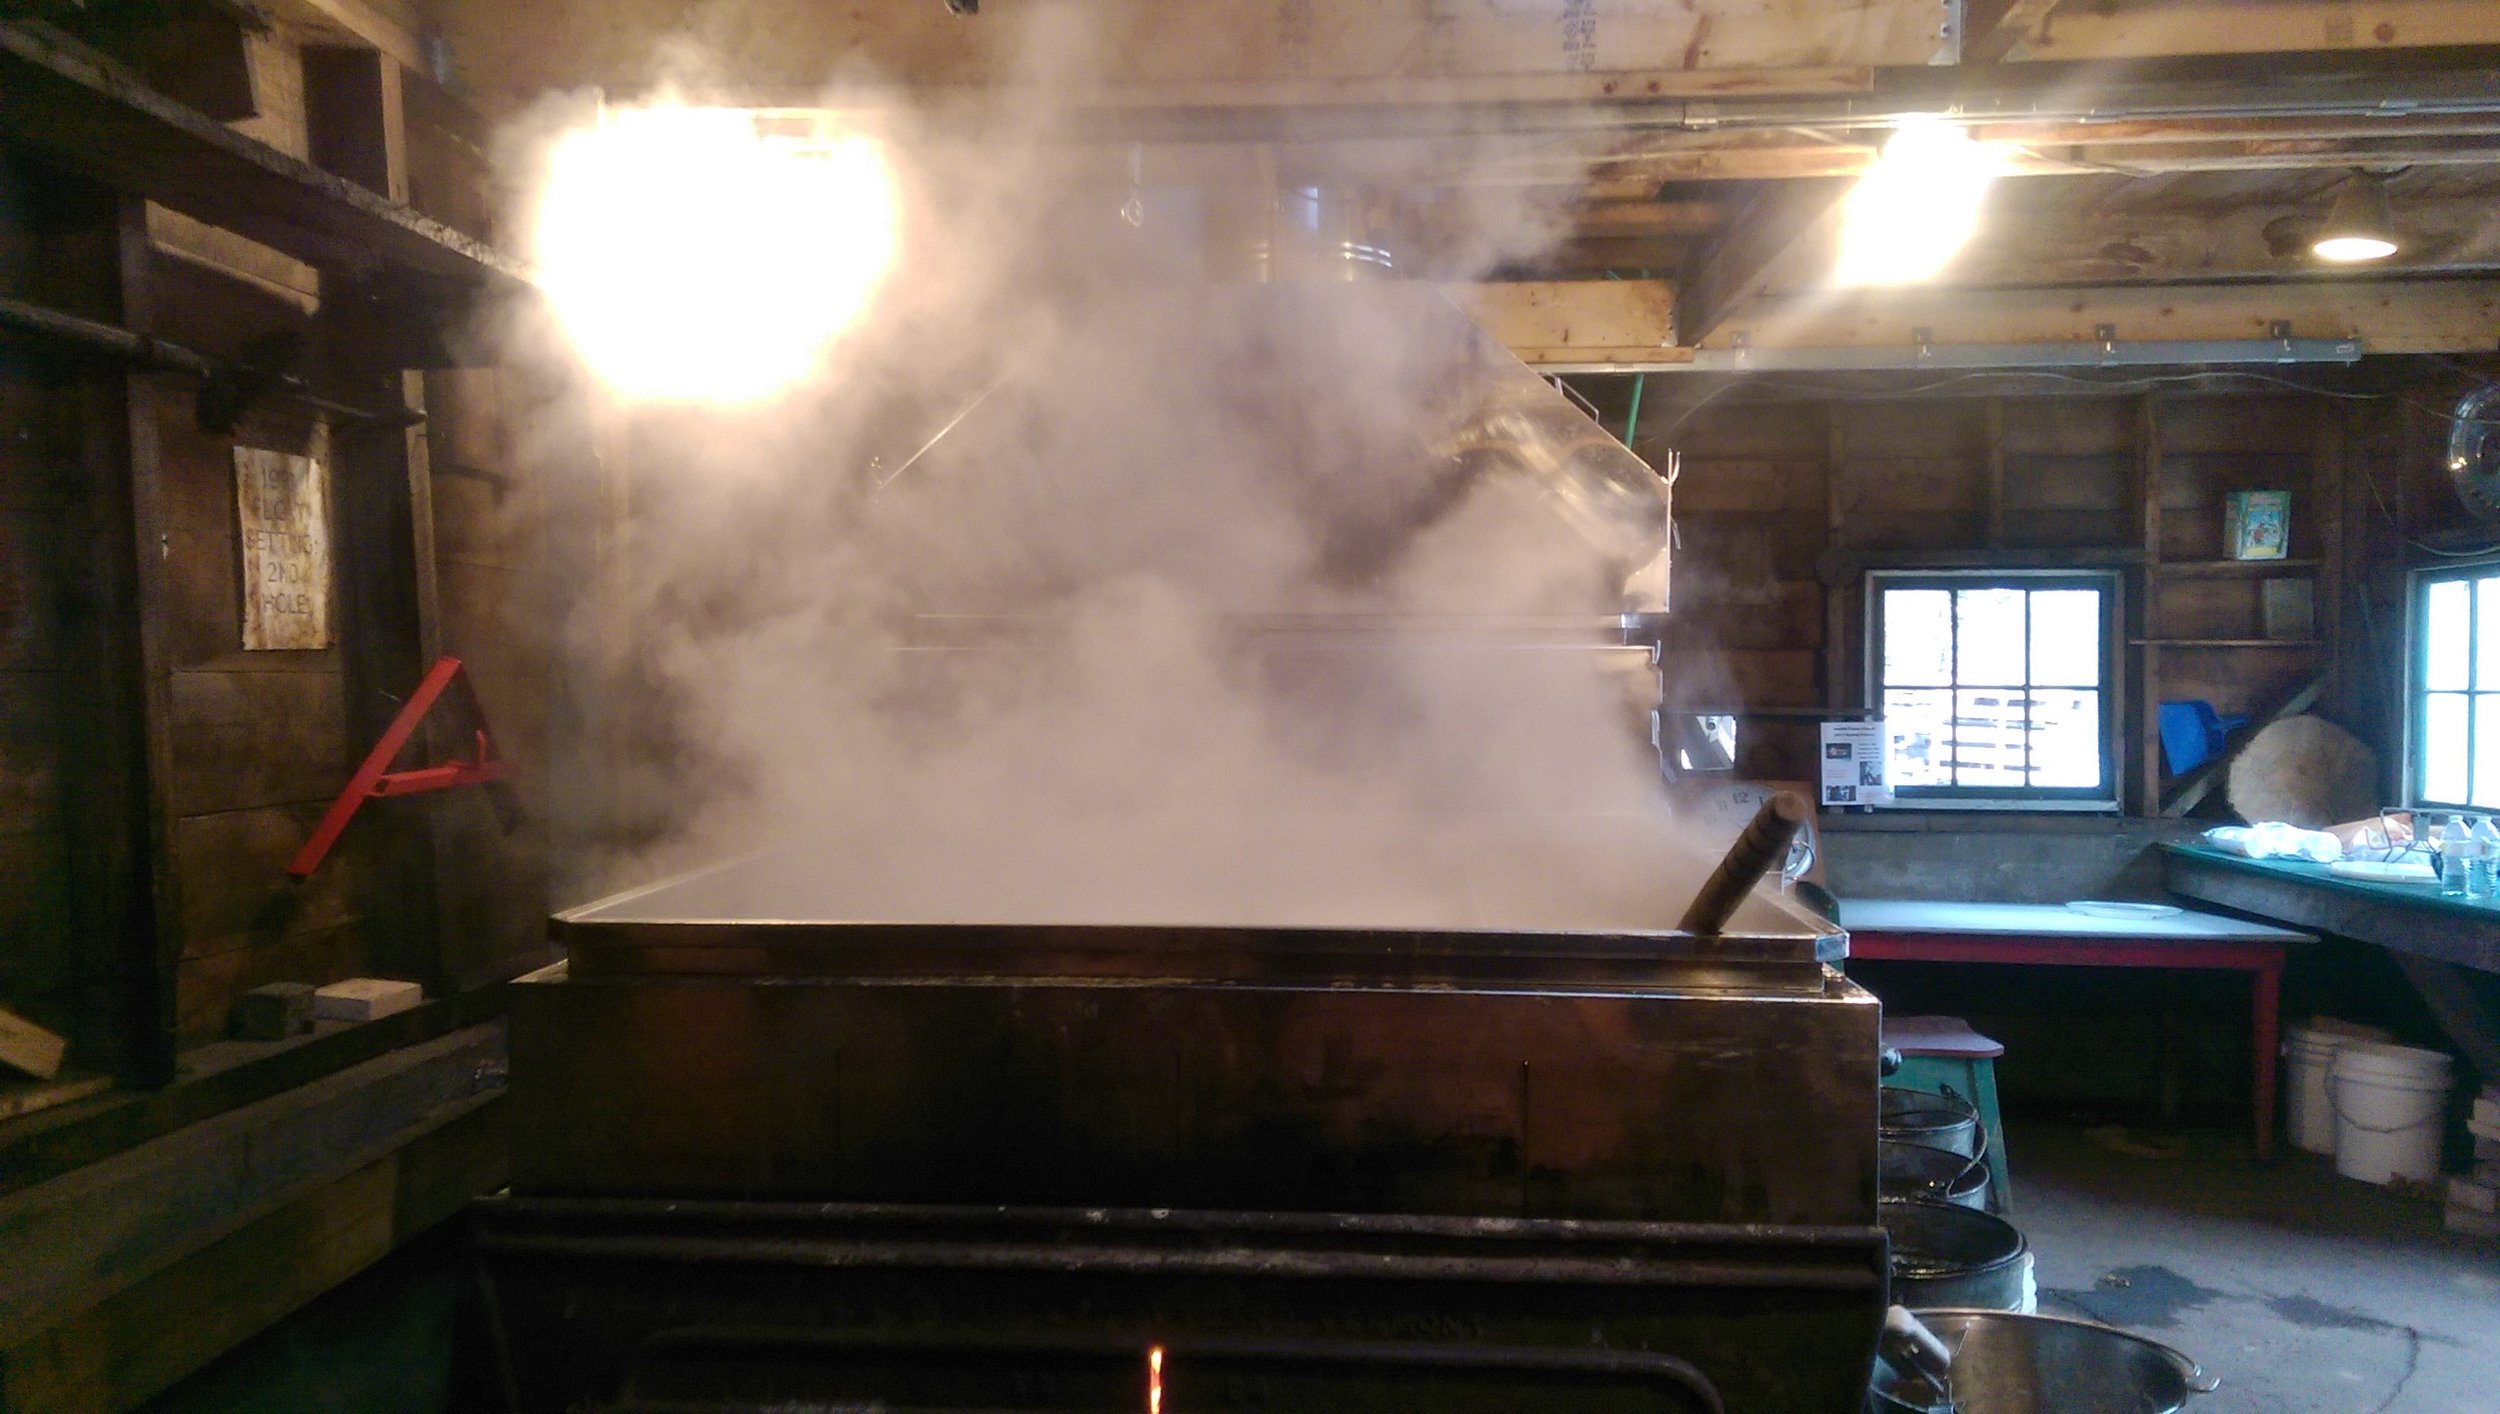
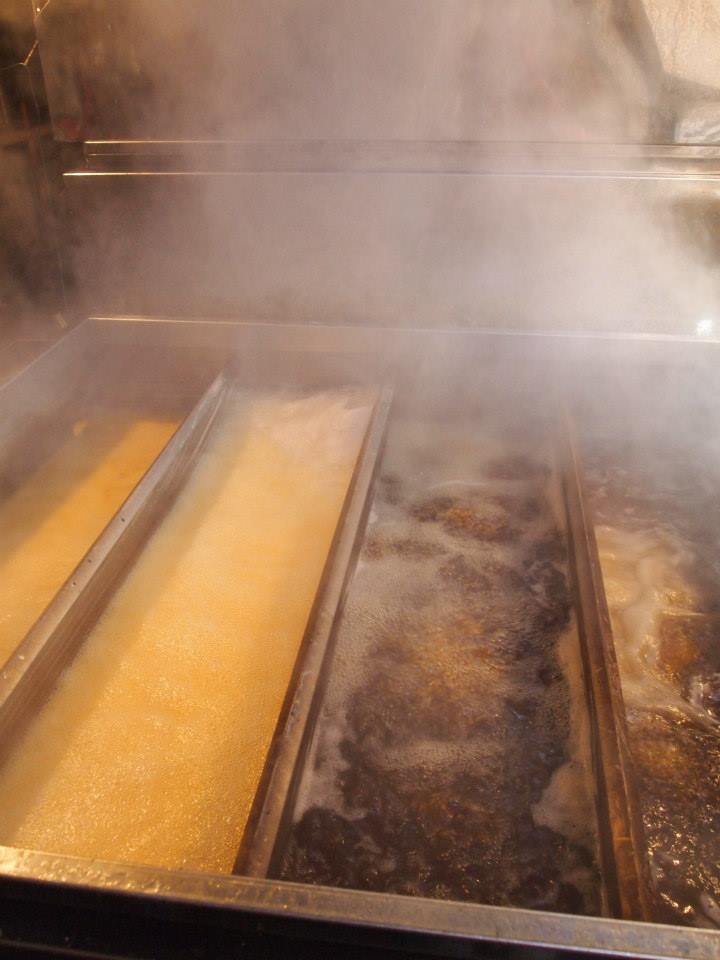
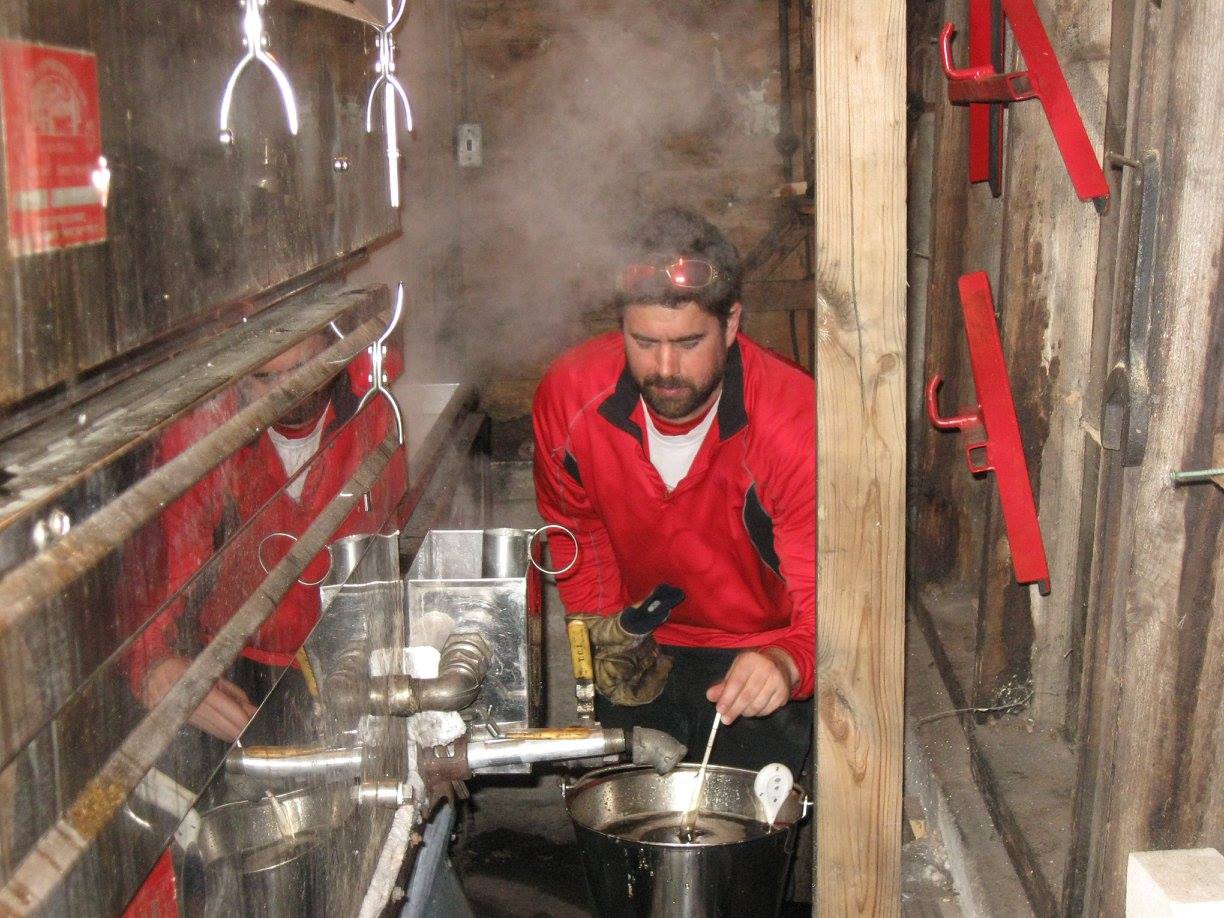
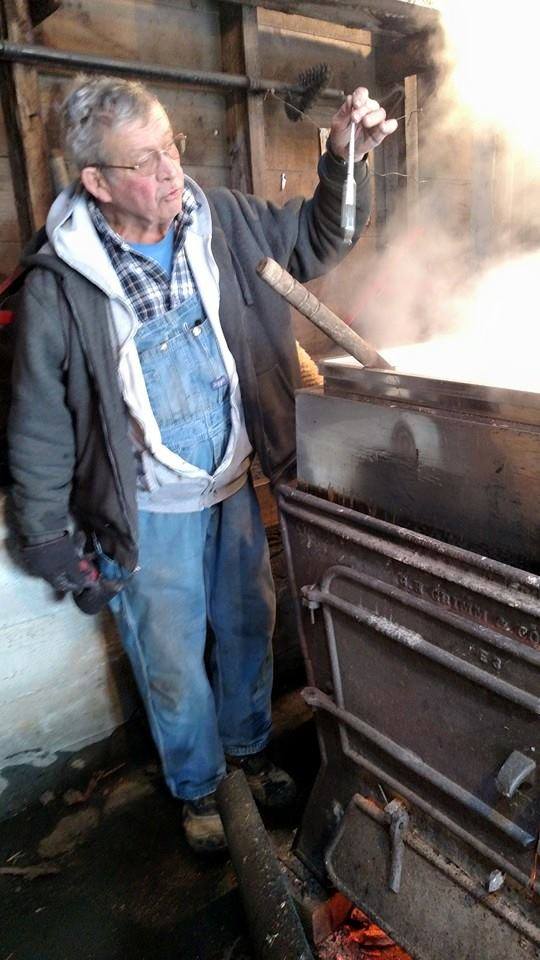
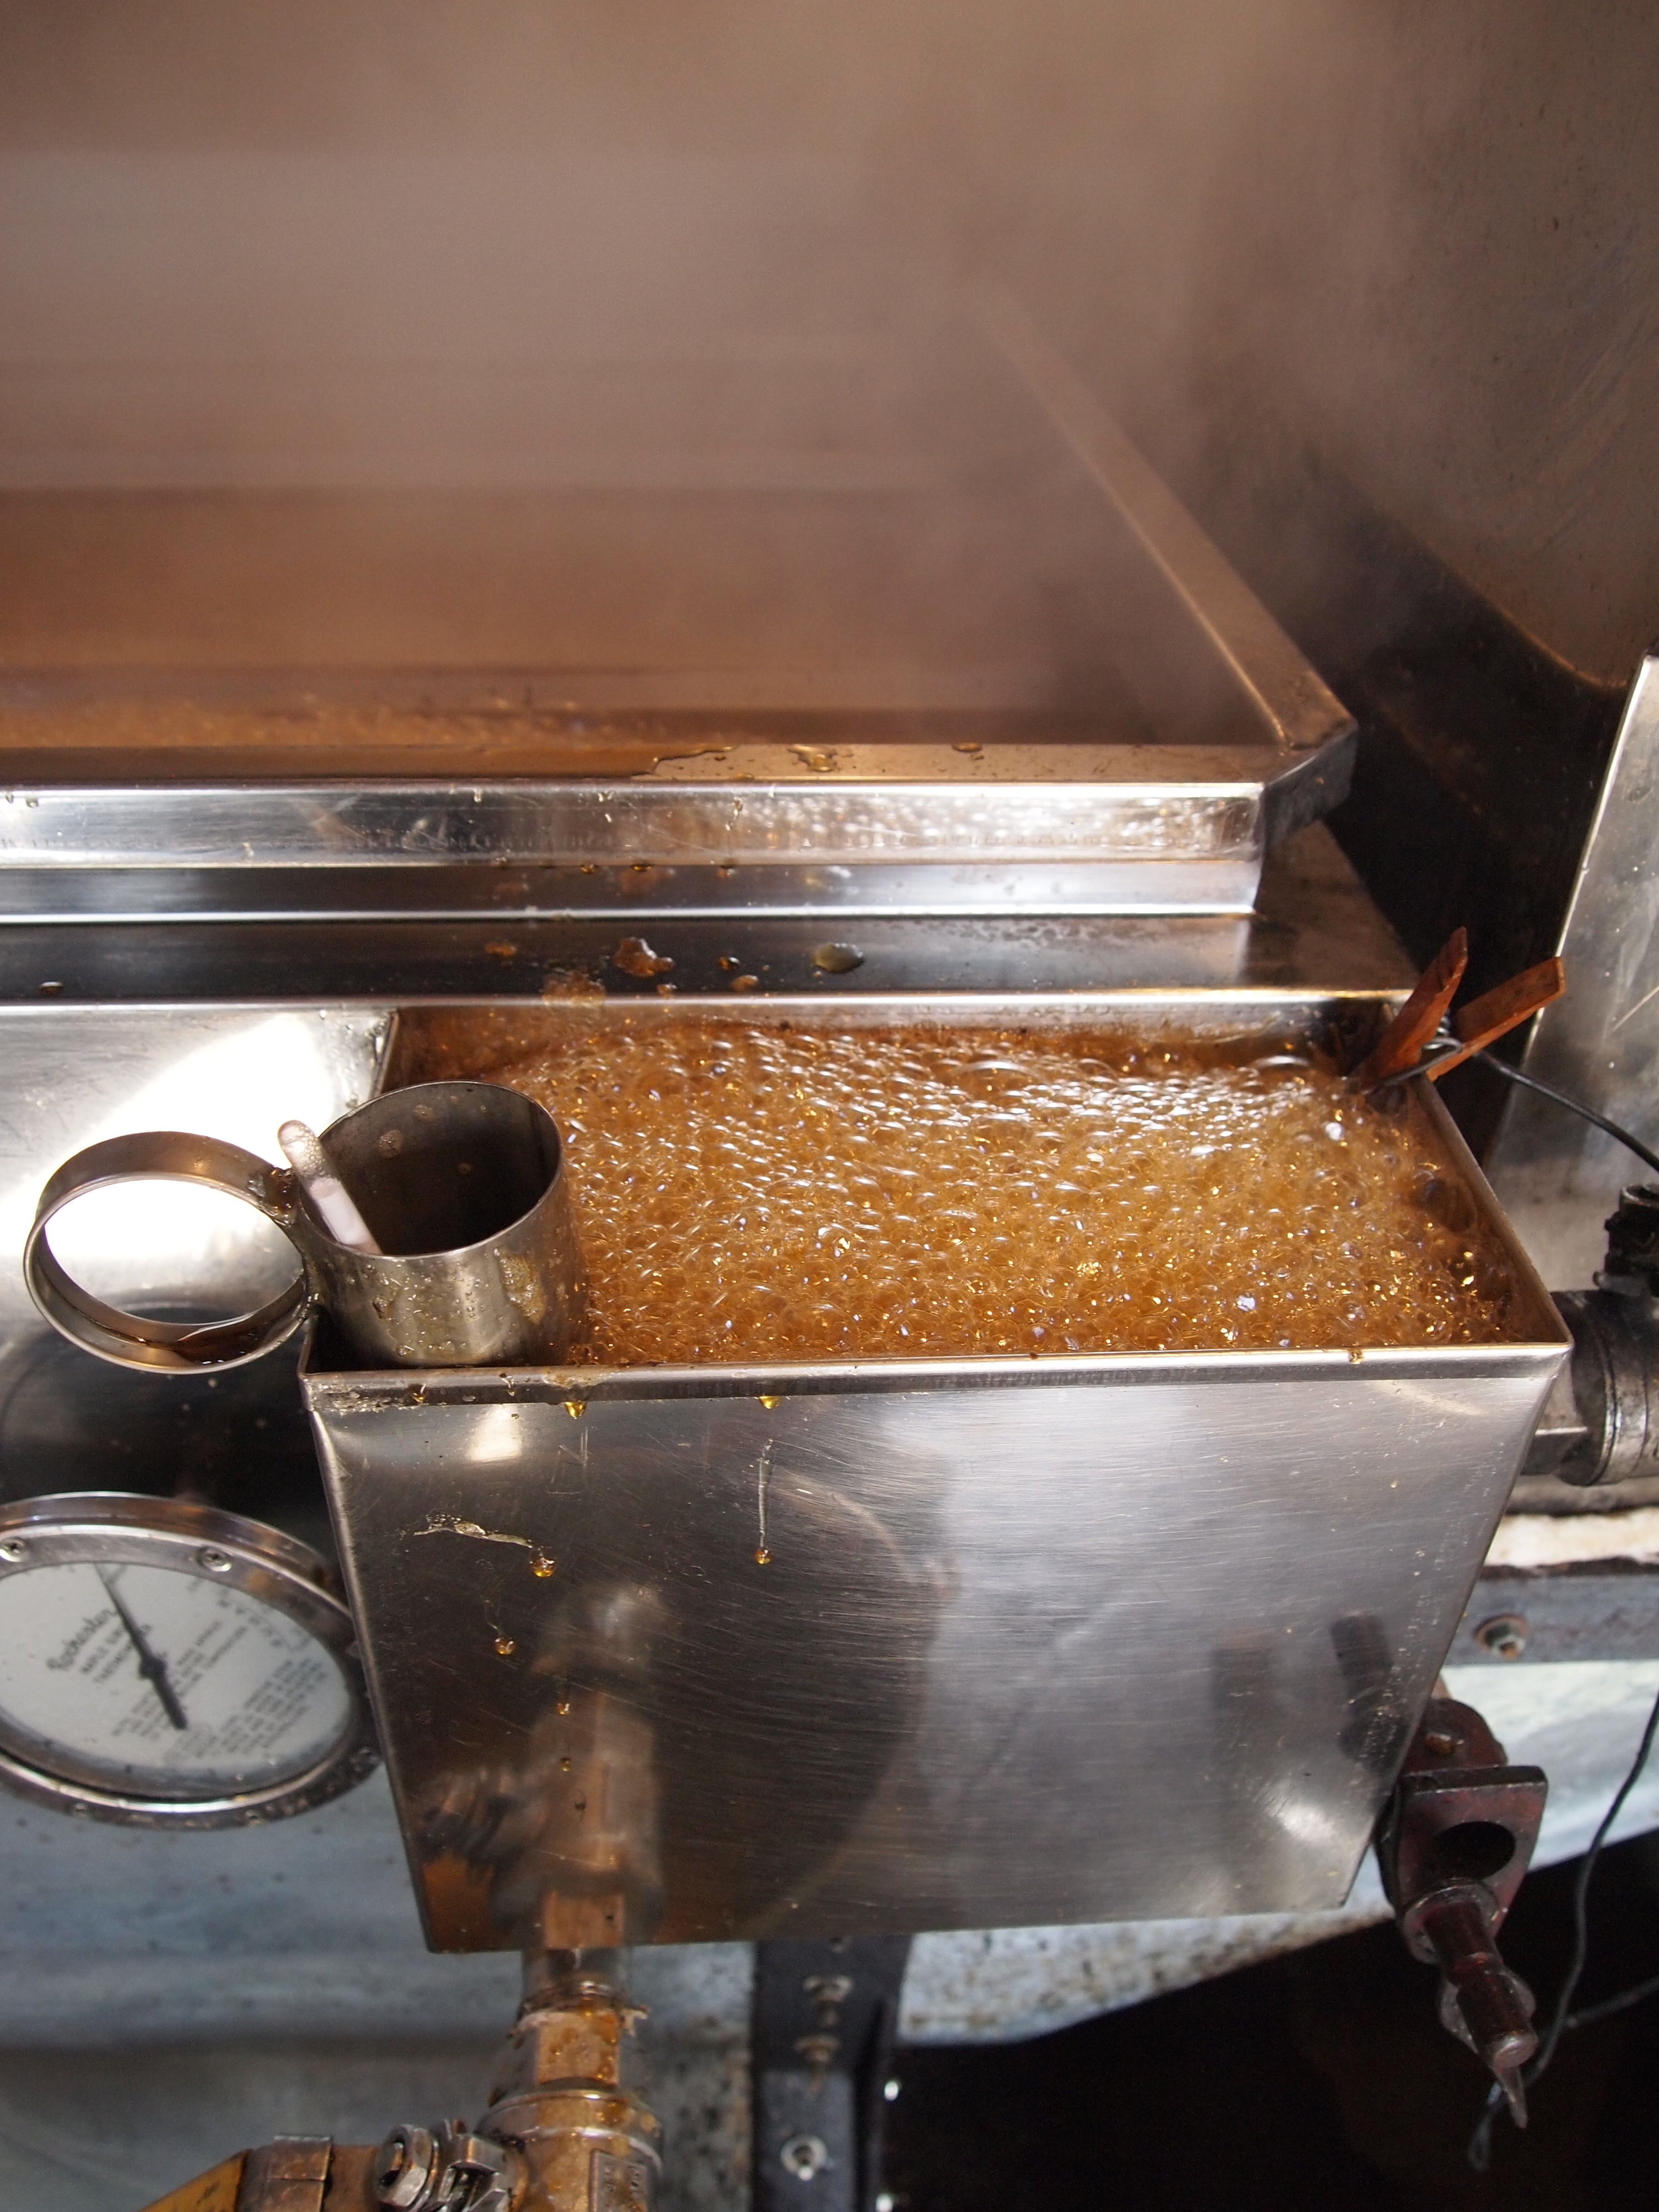
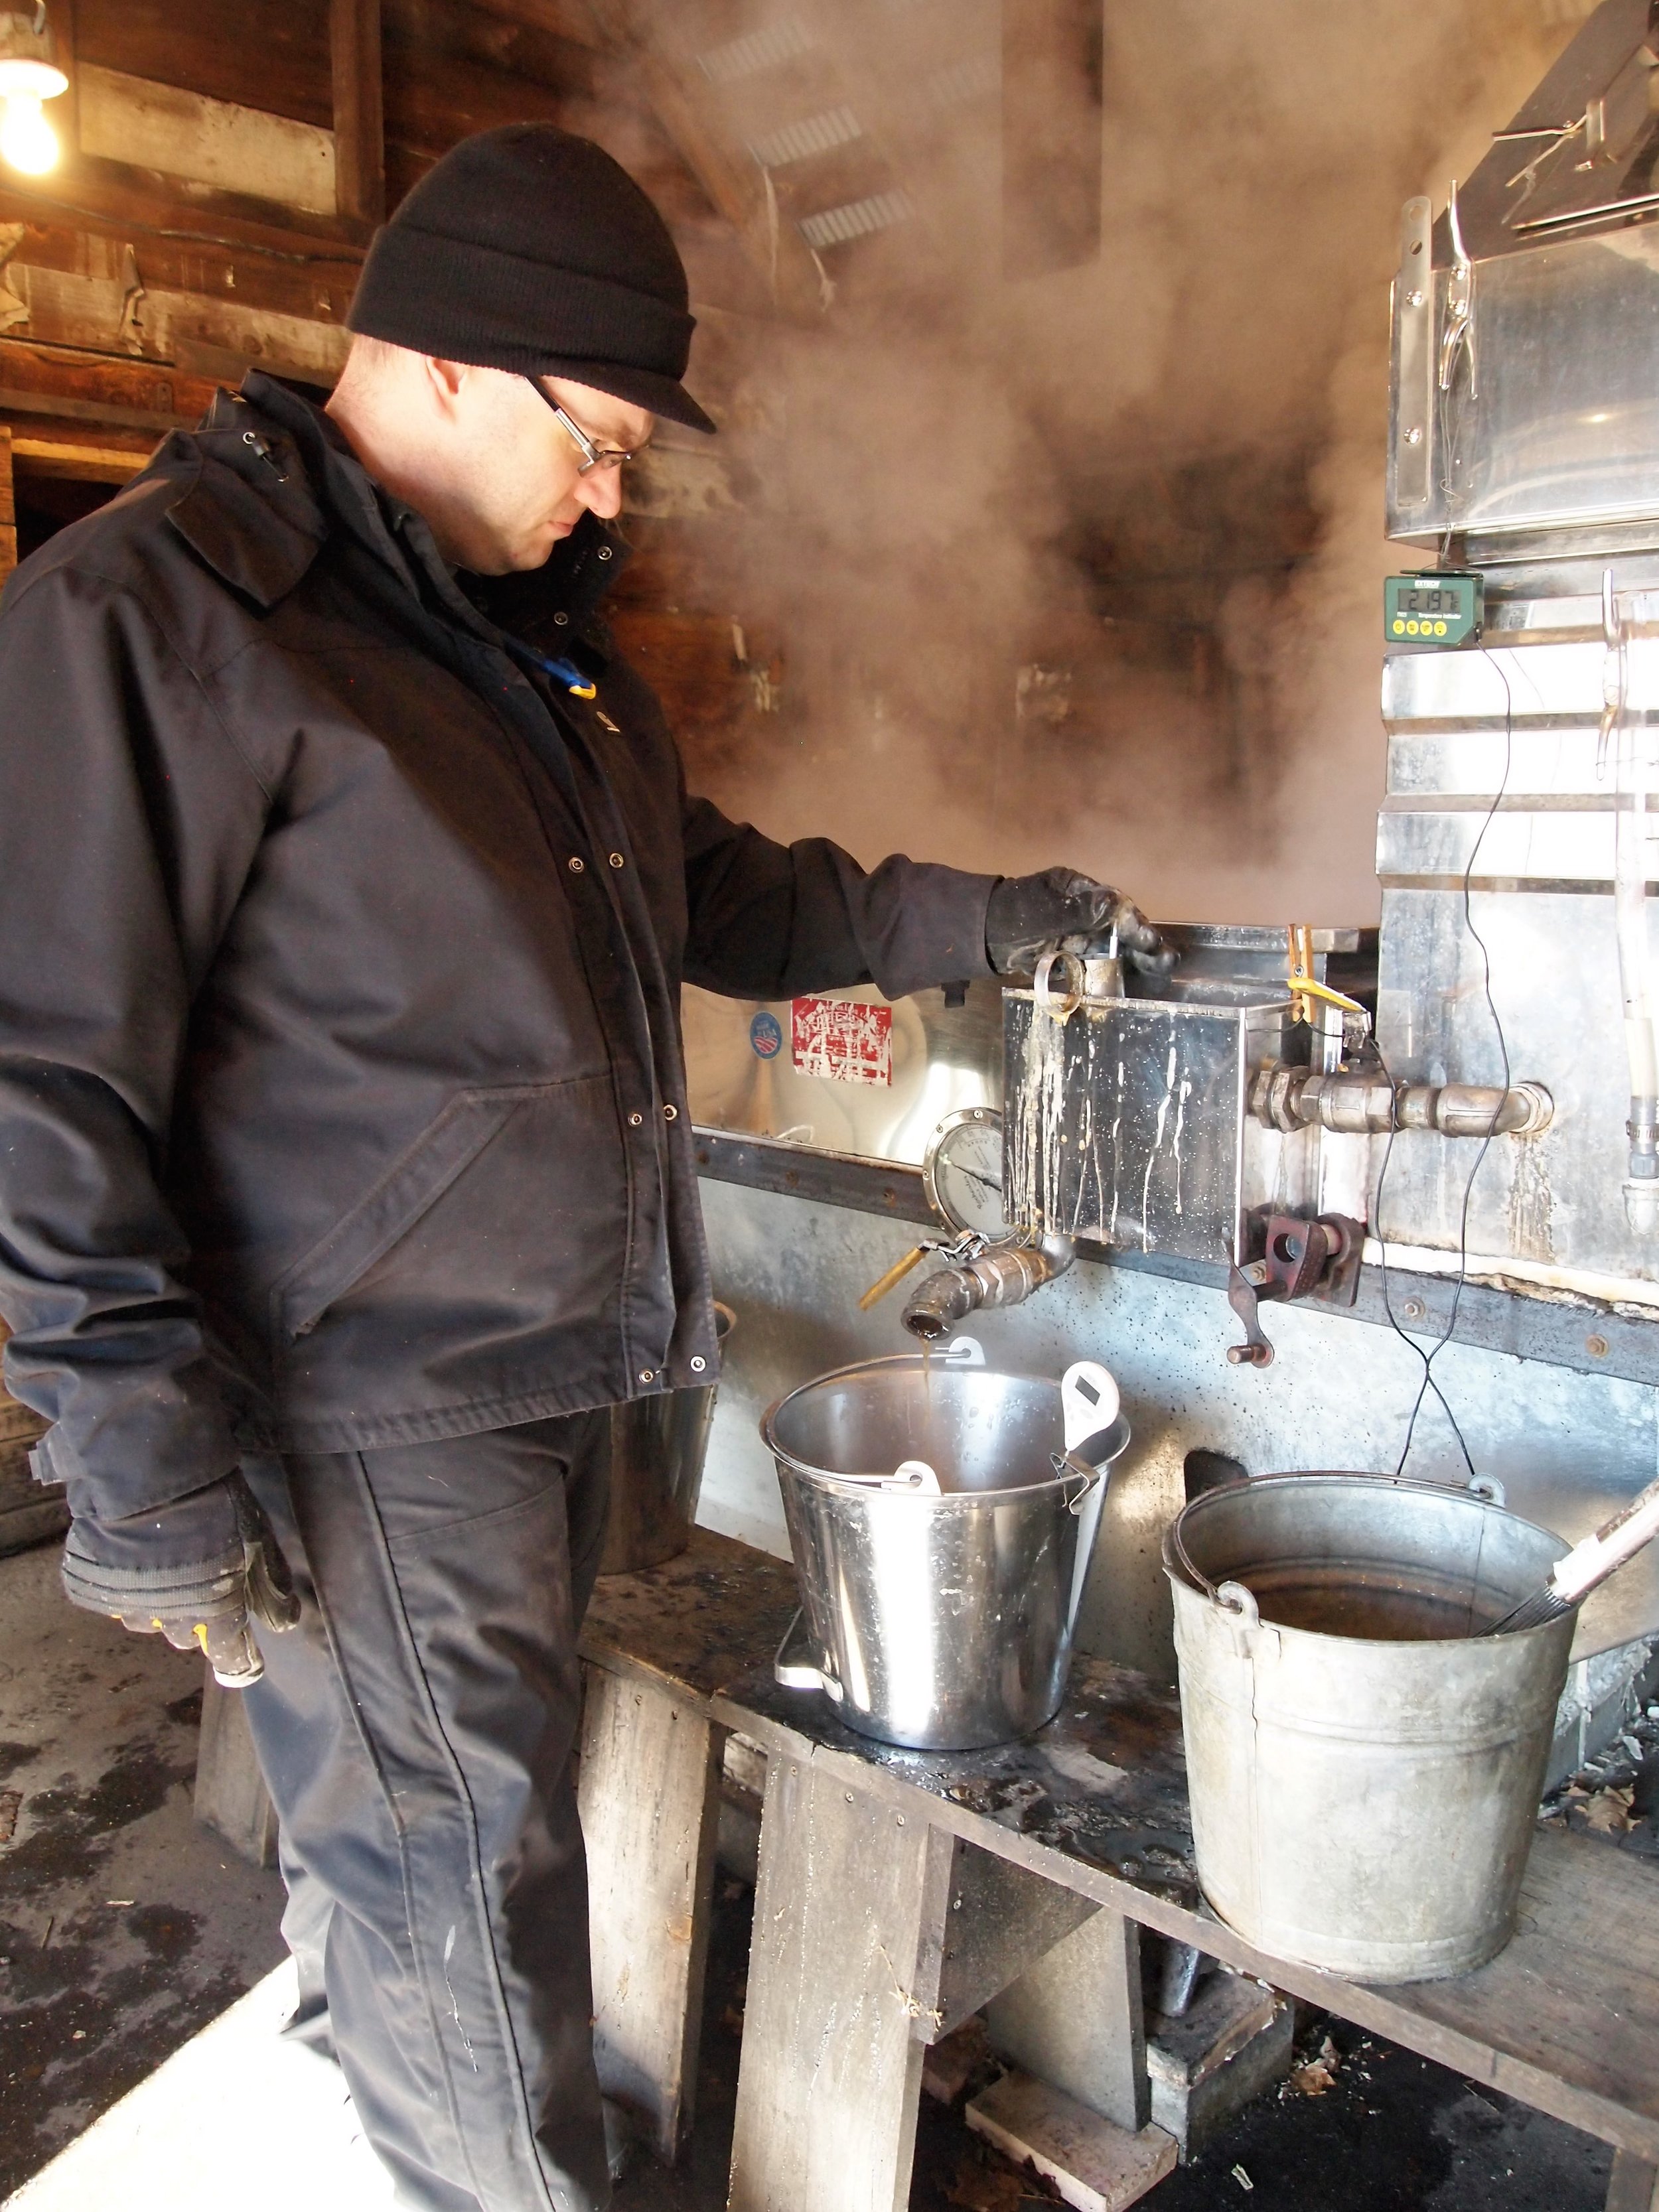

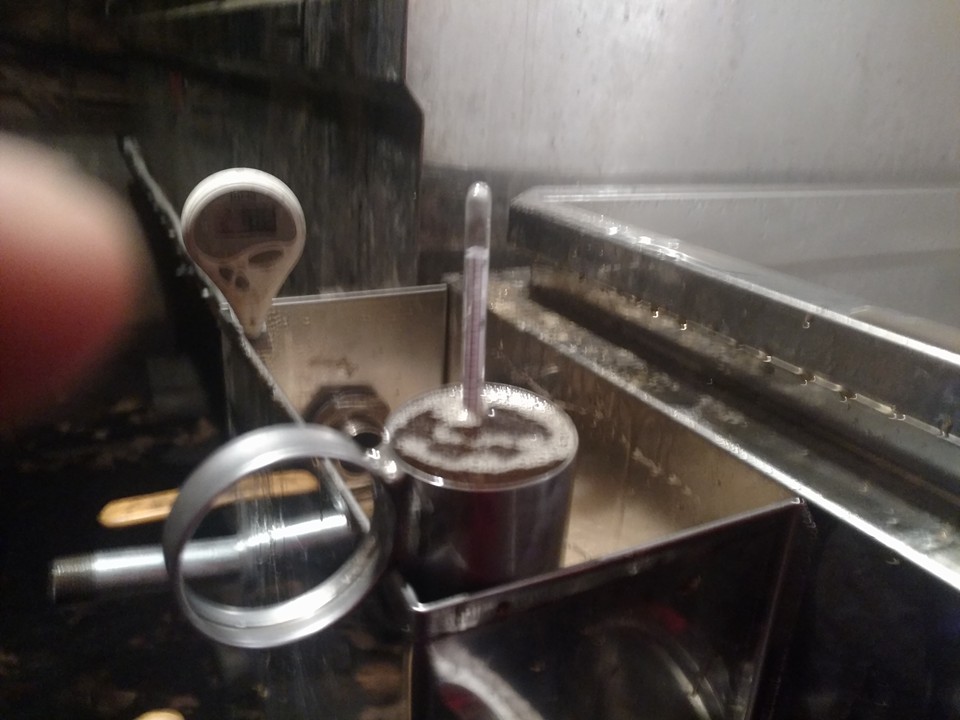
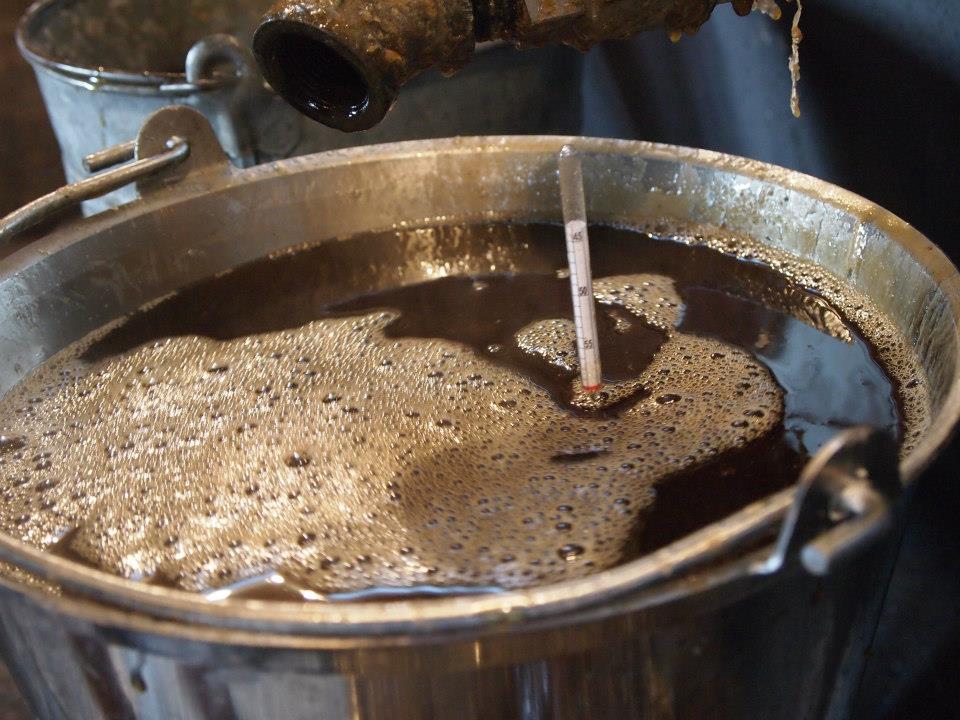
Transforming sap into syrup
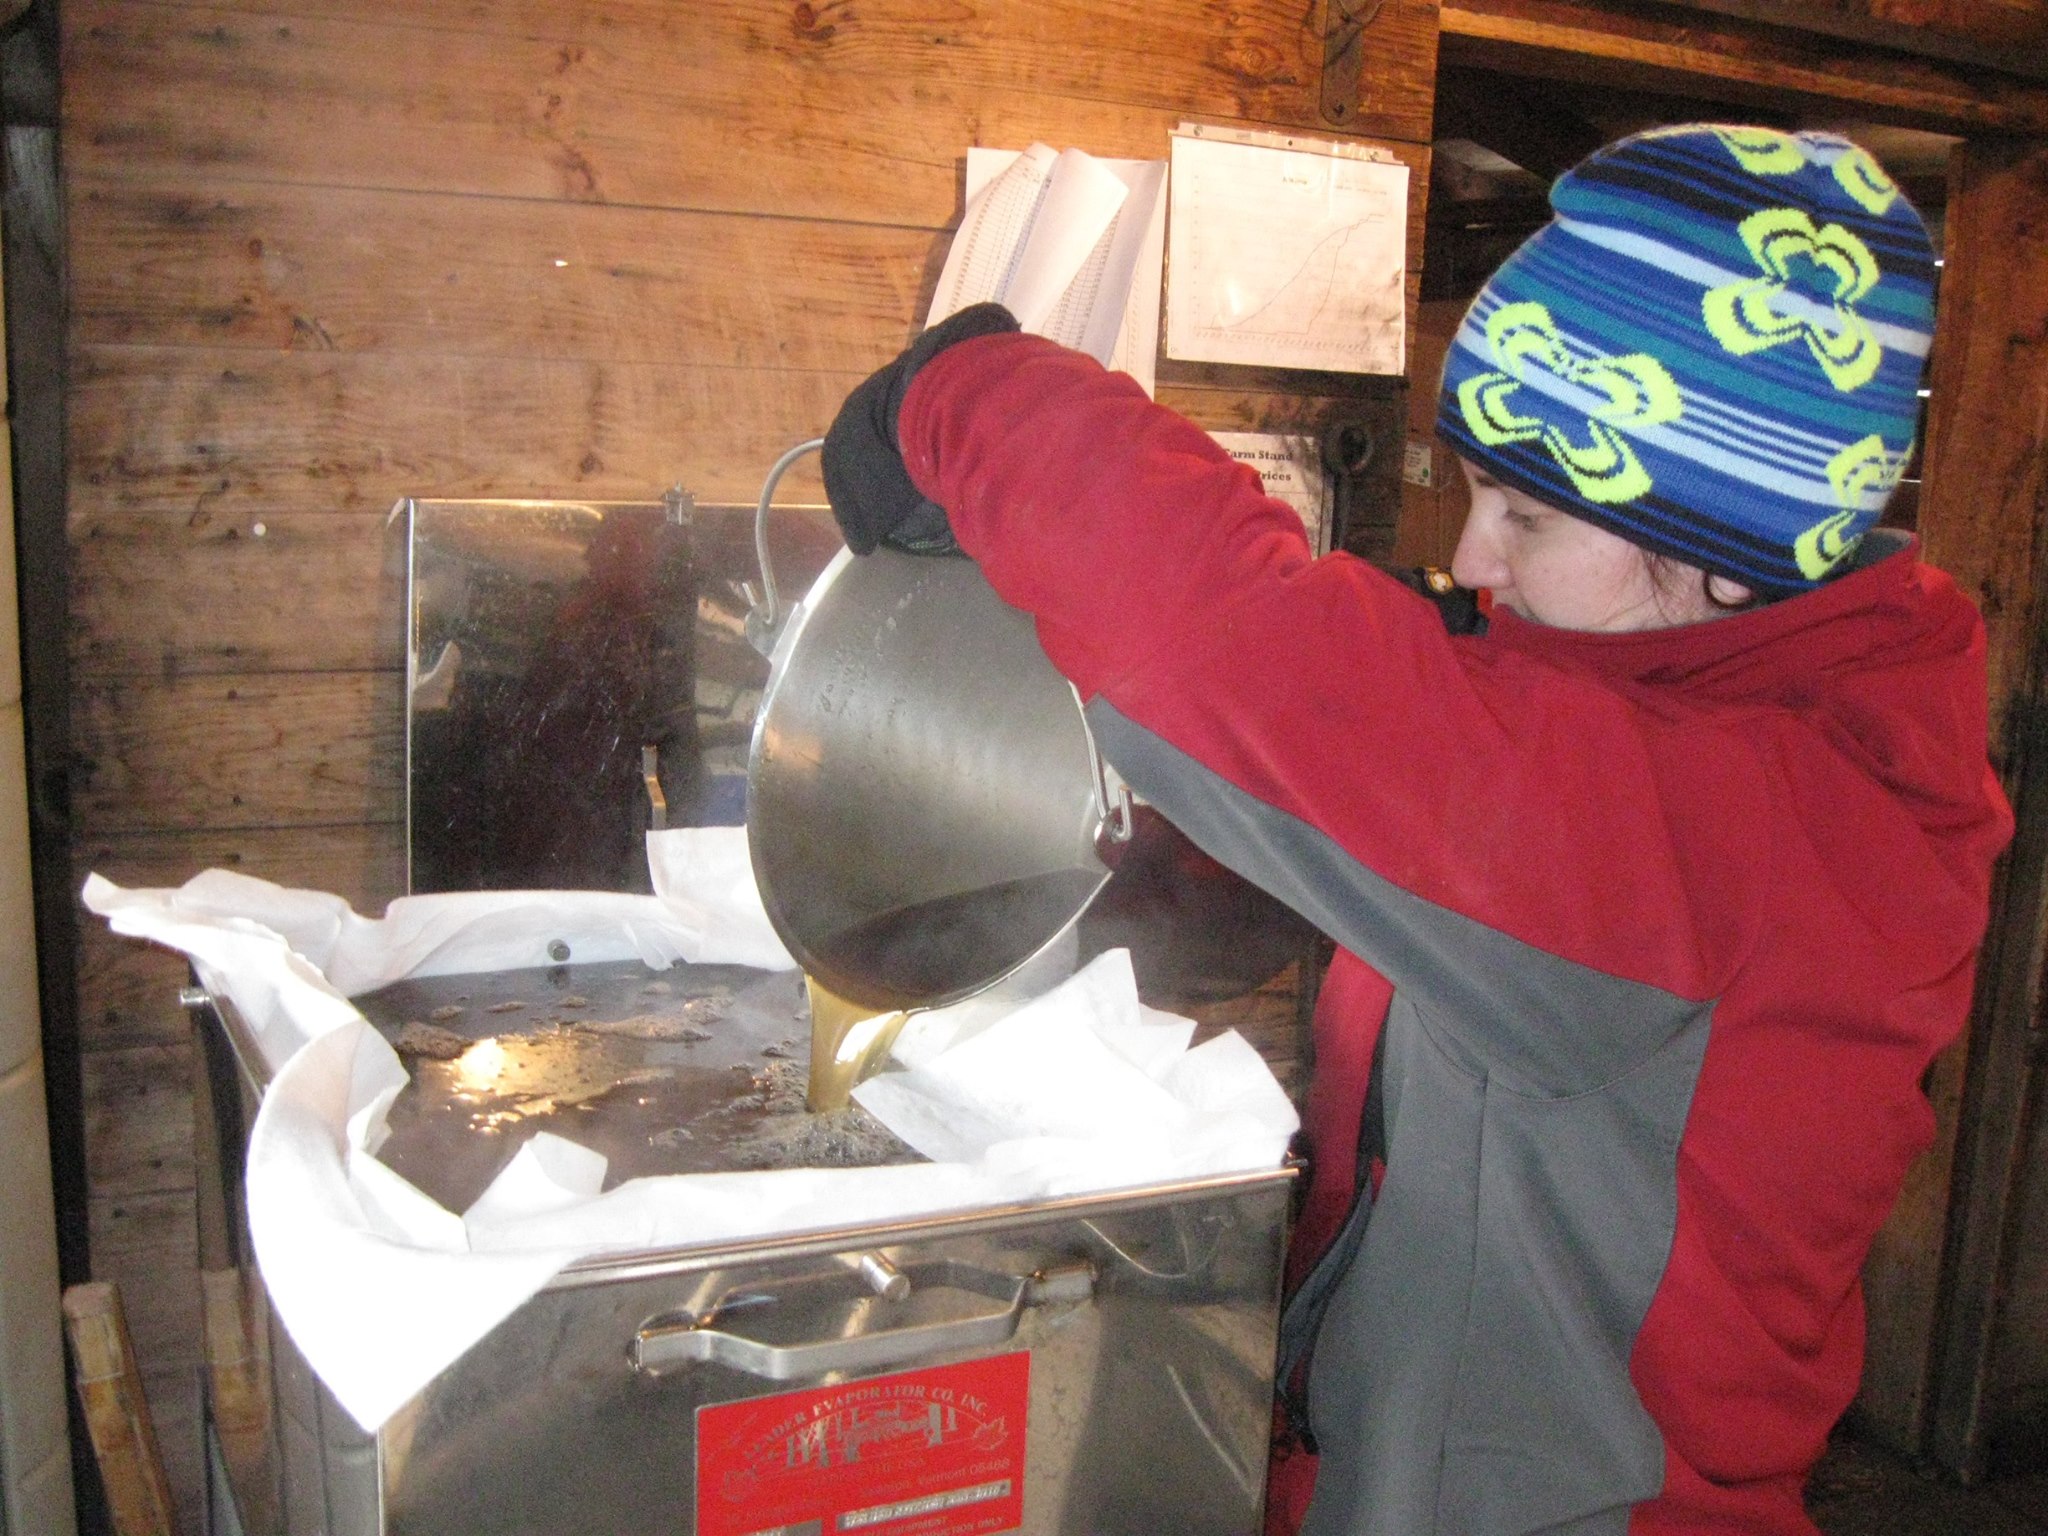
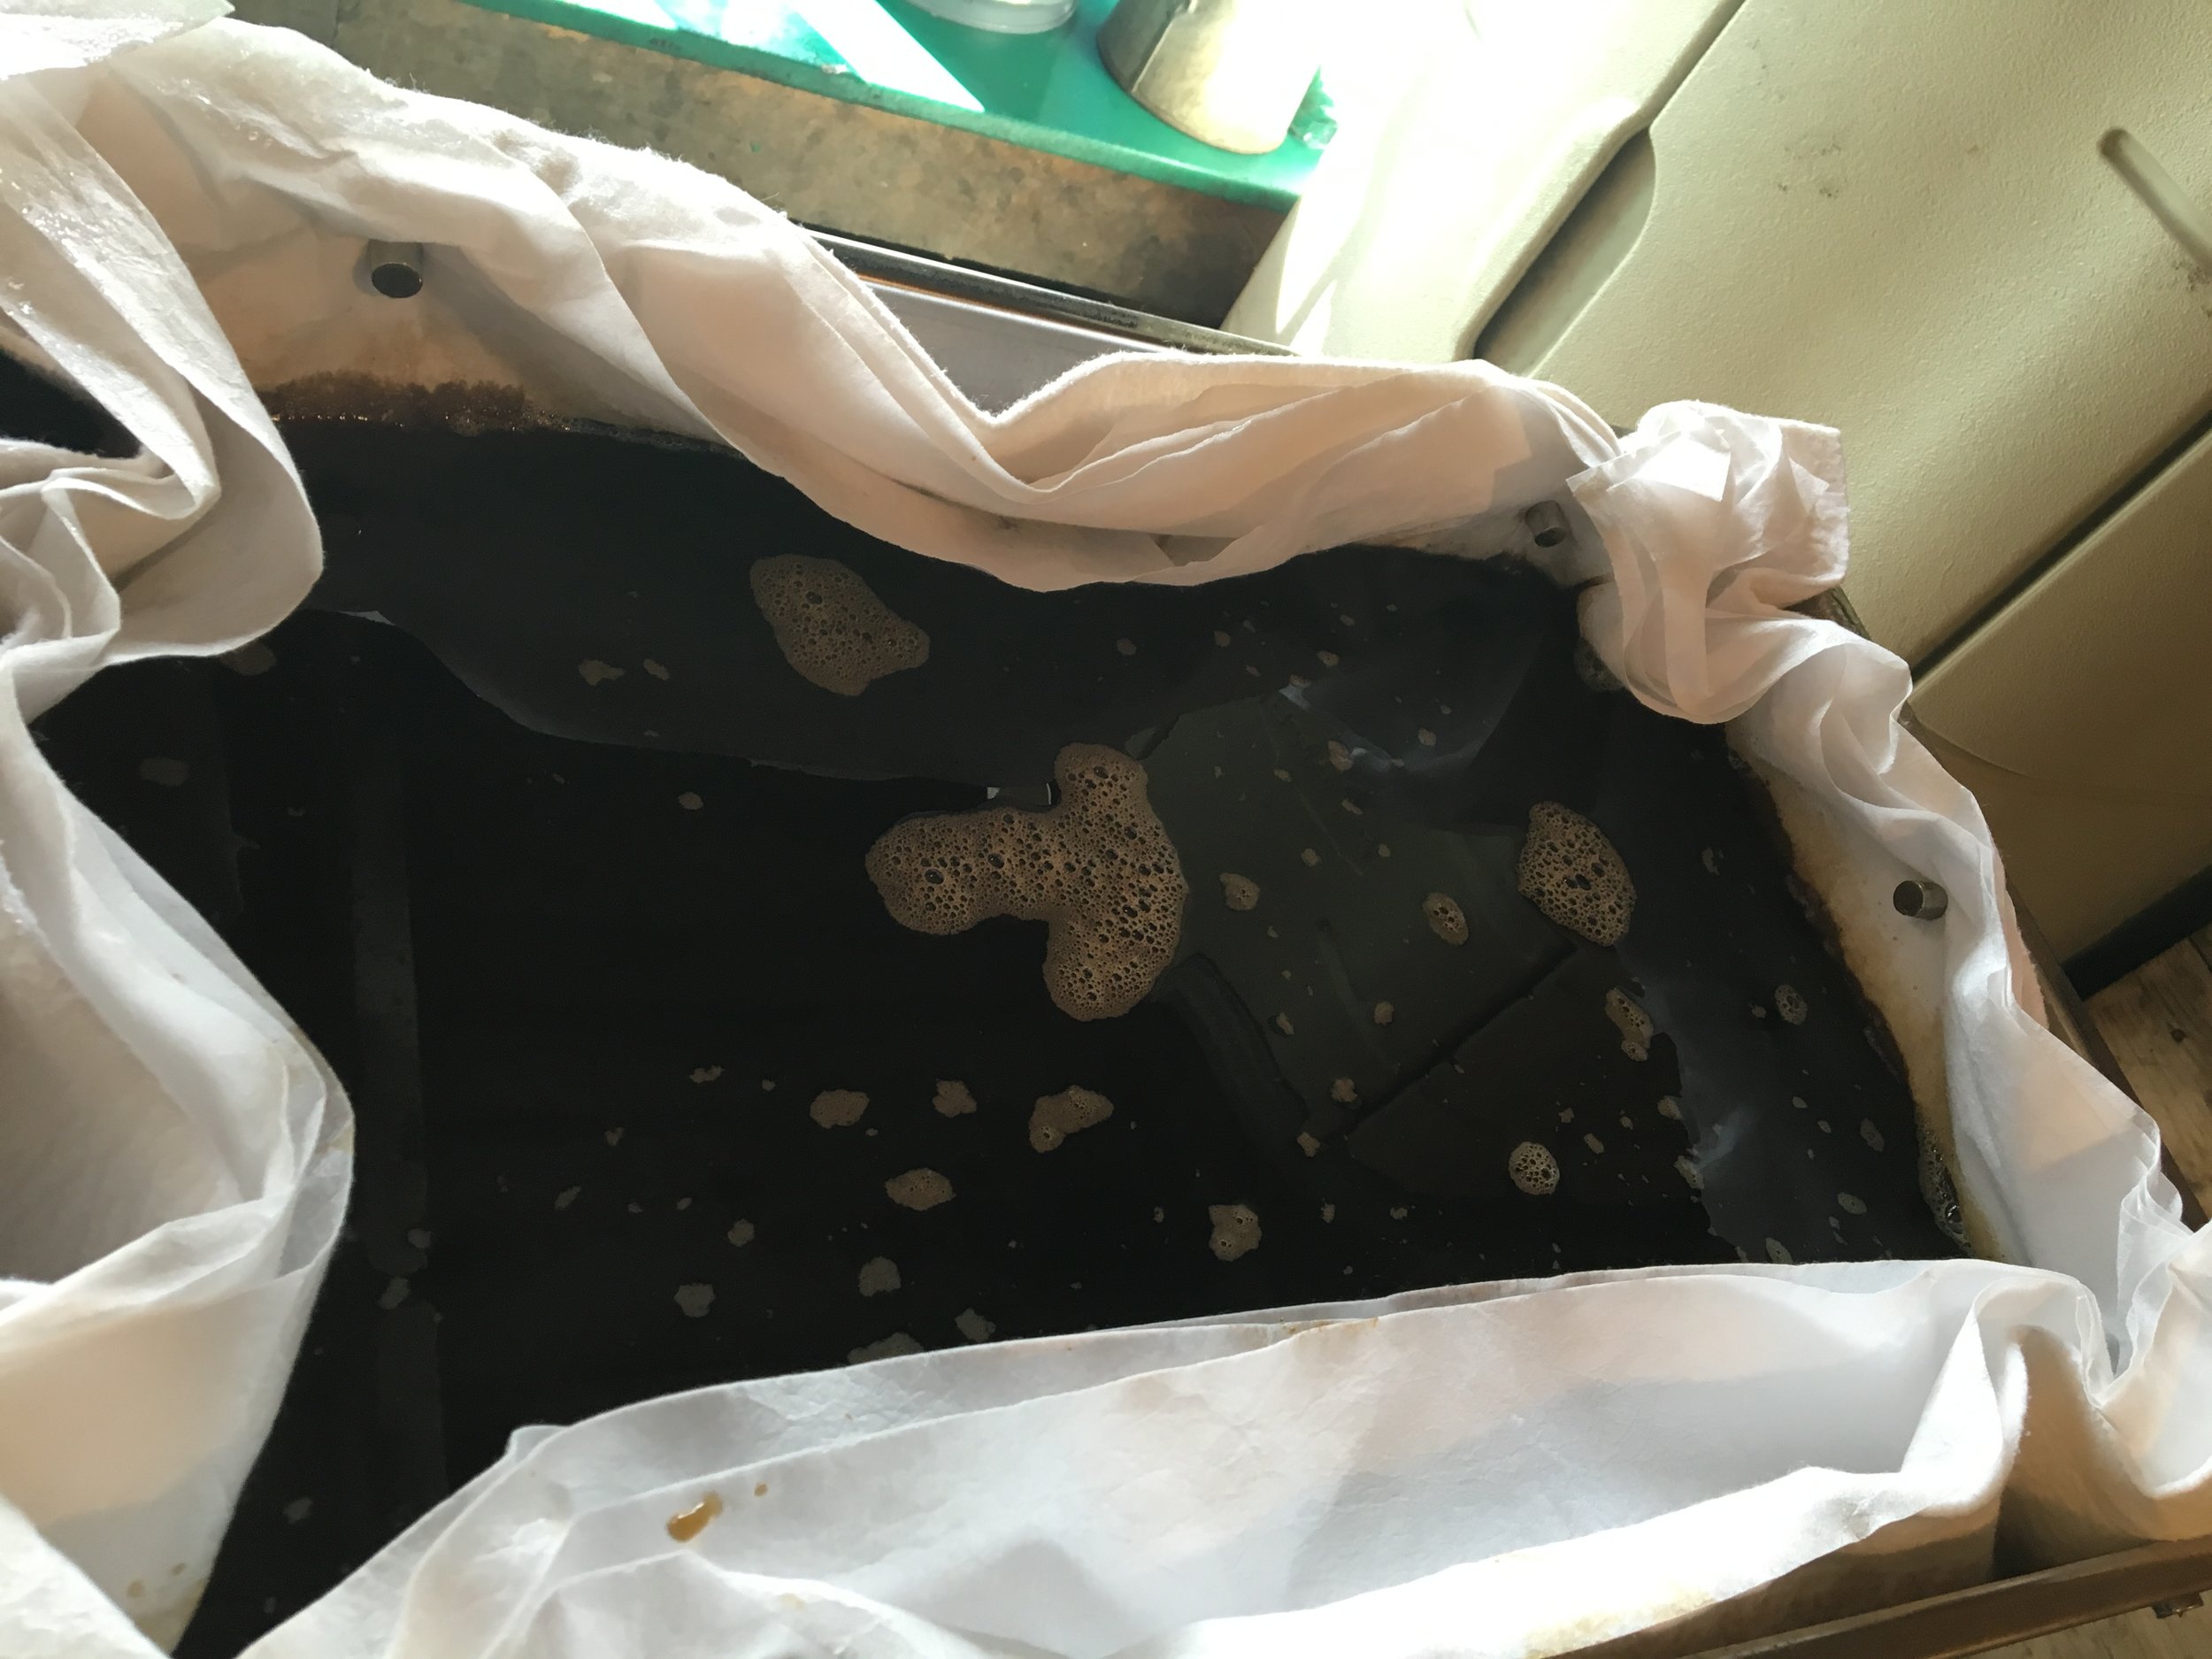
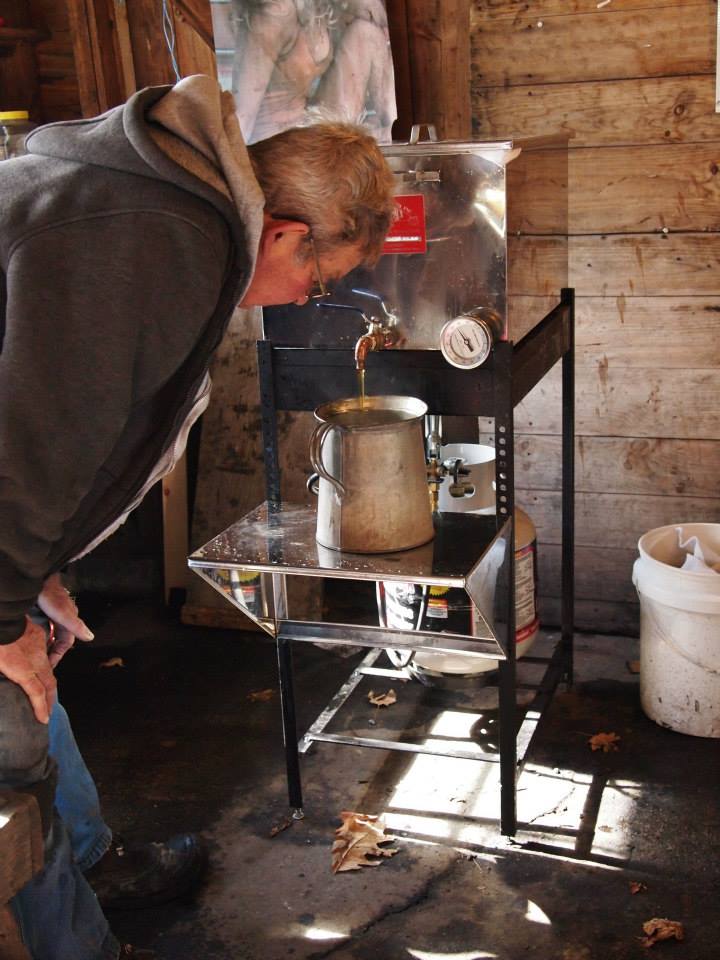
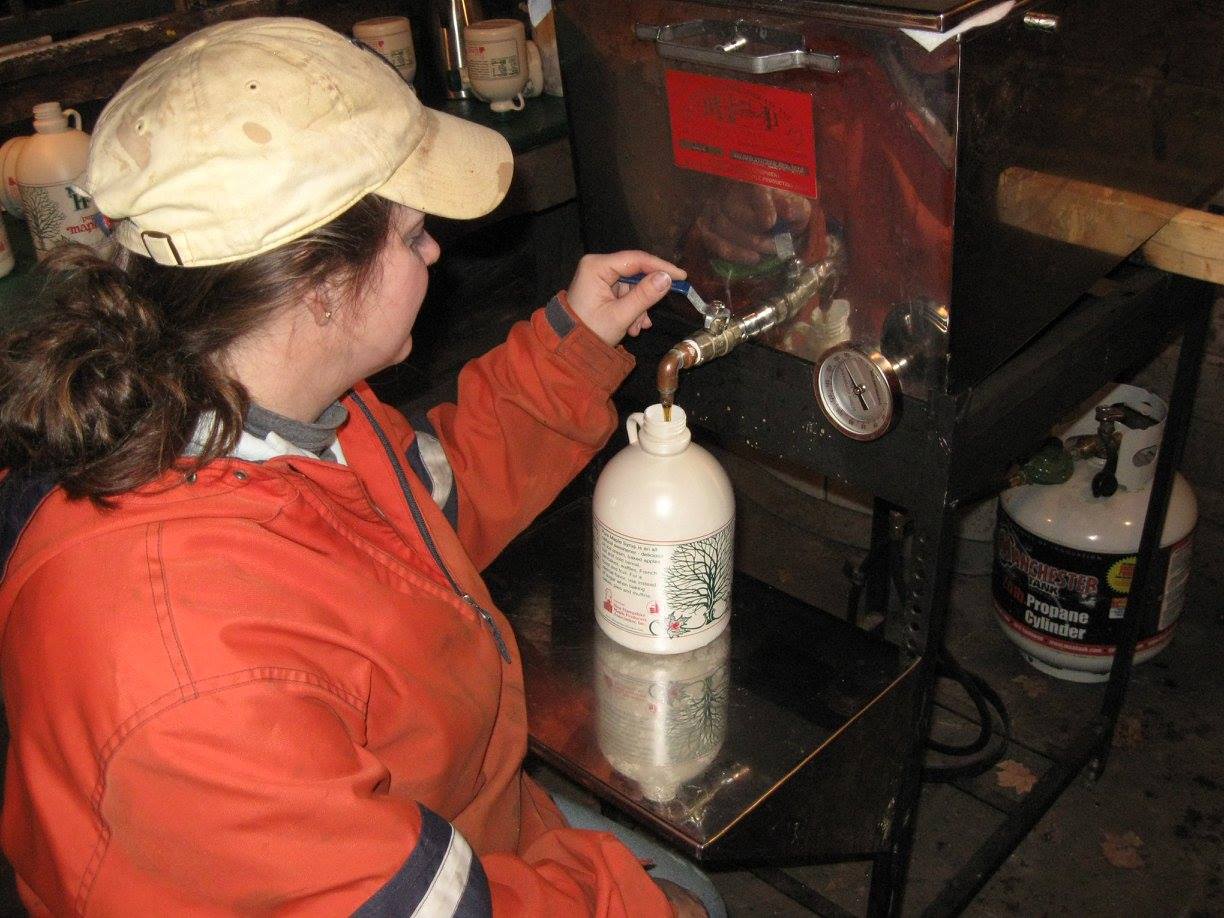
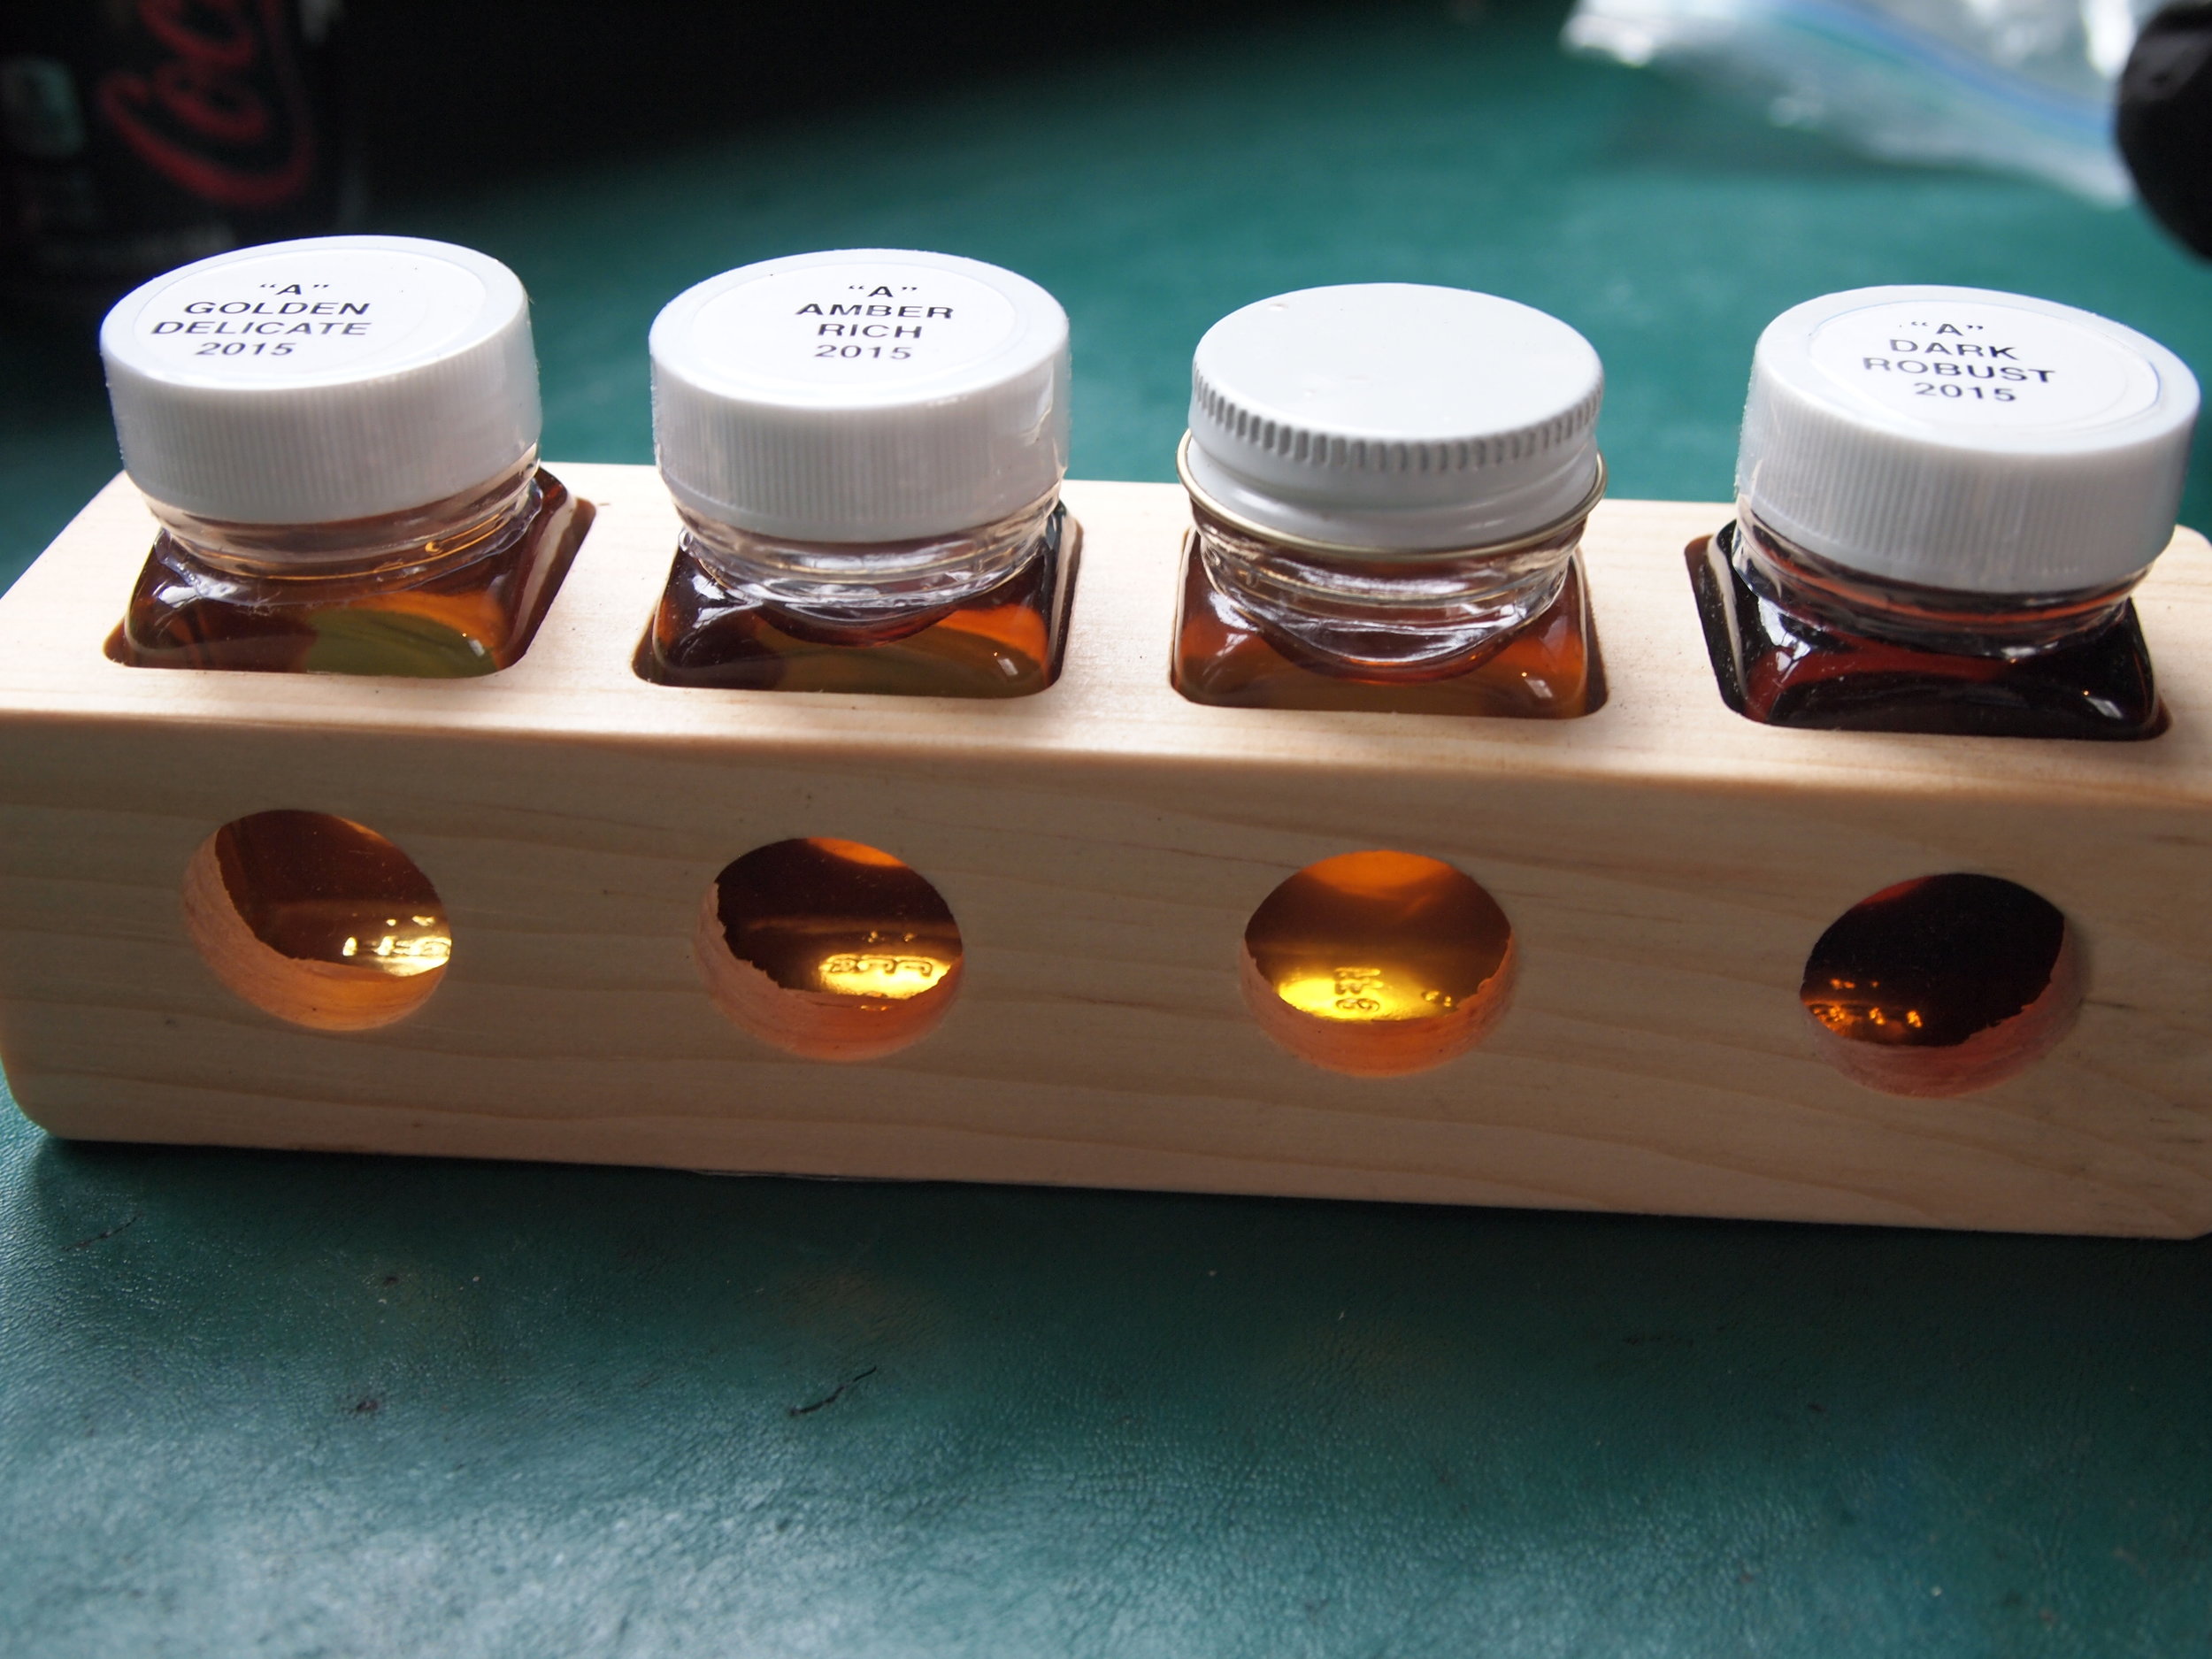
The firebox is loaded and lit. Sap then enters the pre-heater and begins flowing through a series of channels. It gets warmed by the steam, which cuts down on some of the boiling time. Eventually the sap flows into the finishing pan. See how the color changes from a light golden to a much darker, caramel color? We start watching temperature and the density of the syrup. Small samples are drawn and measured using a hydrometer. Syrup does not continuously exit the pans; instead, it comes off in batches. Pails of syrup are poured into the finishing box, filtering through a series of thick fabric and paper filters. This strains out the "sugar sand" which is a thick paste of the minerals found naturally in sap. This process creates a clear finished product that can now be canned in jugs. Samples from each batch are taken and graded based on color and flavor.